In this article
The Machine and the Problem Why a Simple Repair Wasn't Enough Designing Bezels That Belong Print Settings That Made the Difference The Finished Result Download the STL Files Reflections AcknowledgmentsThe Machine and the Problem
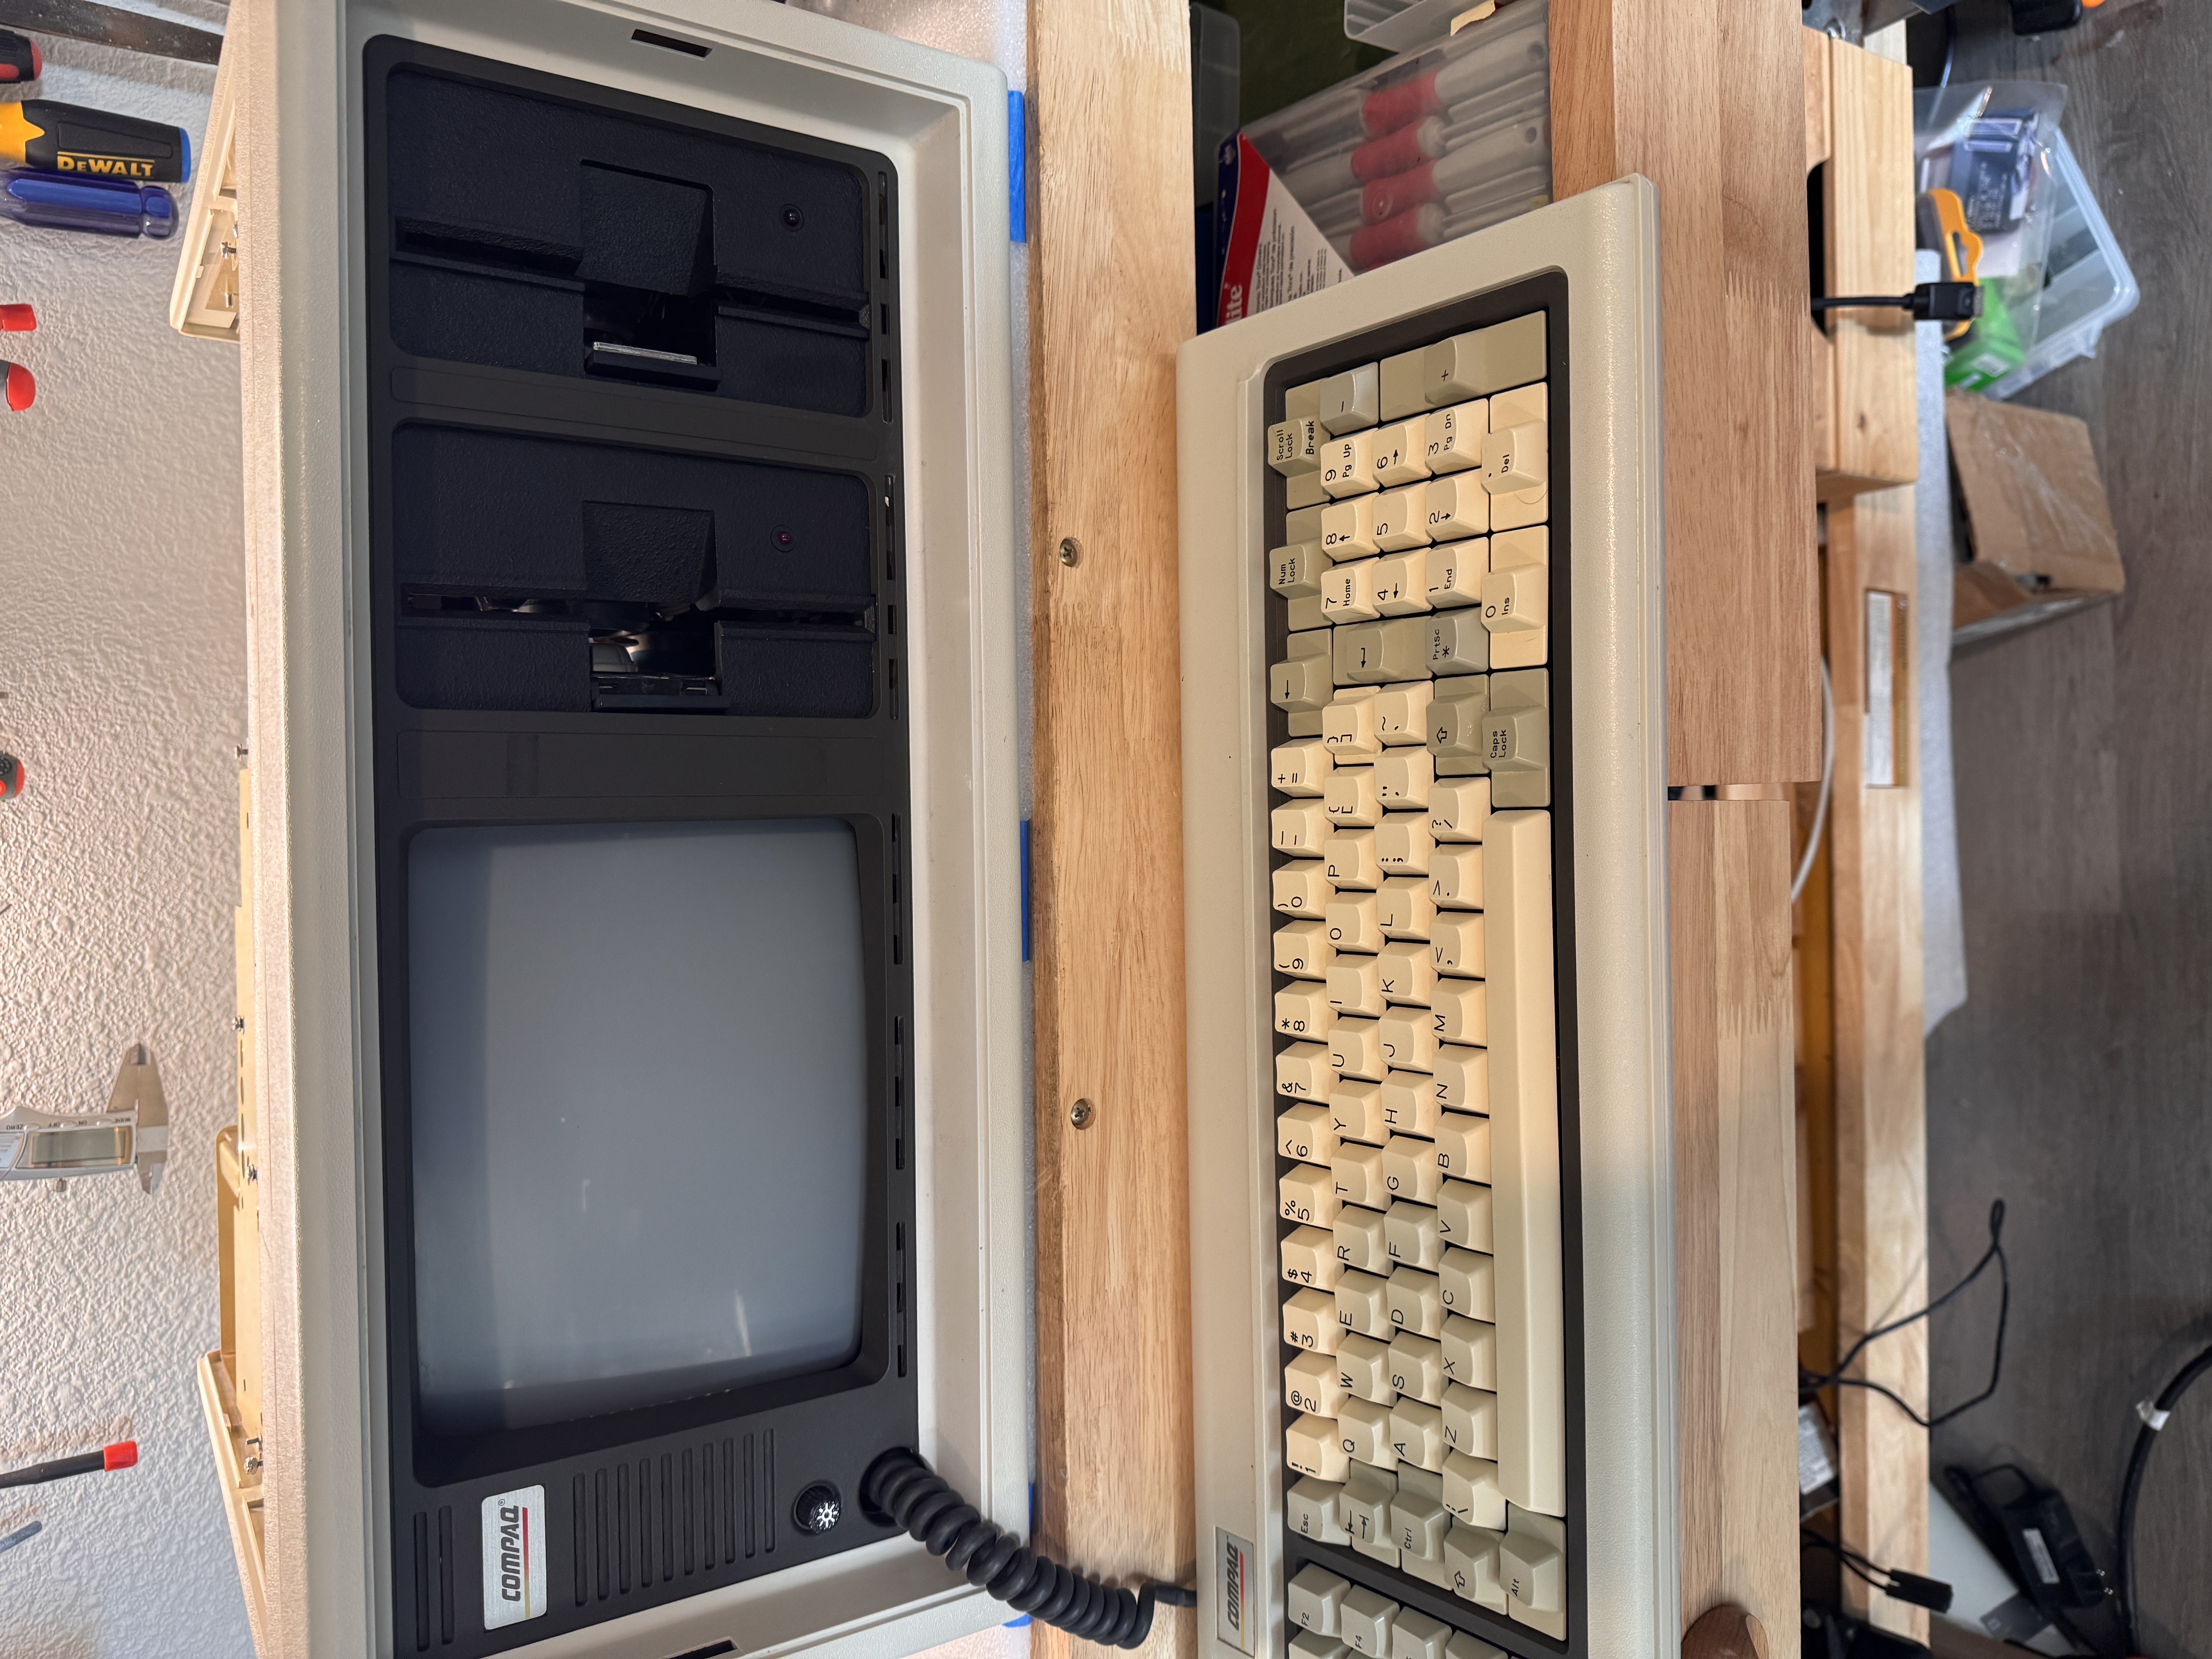
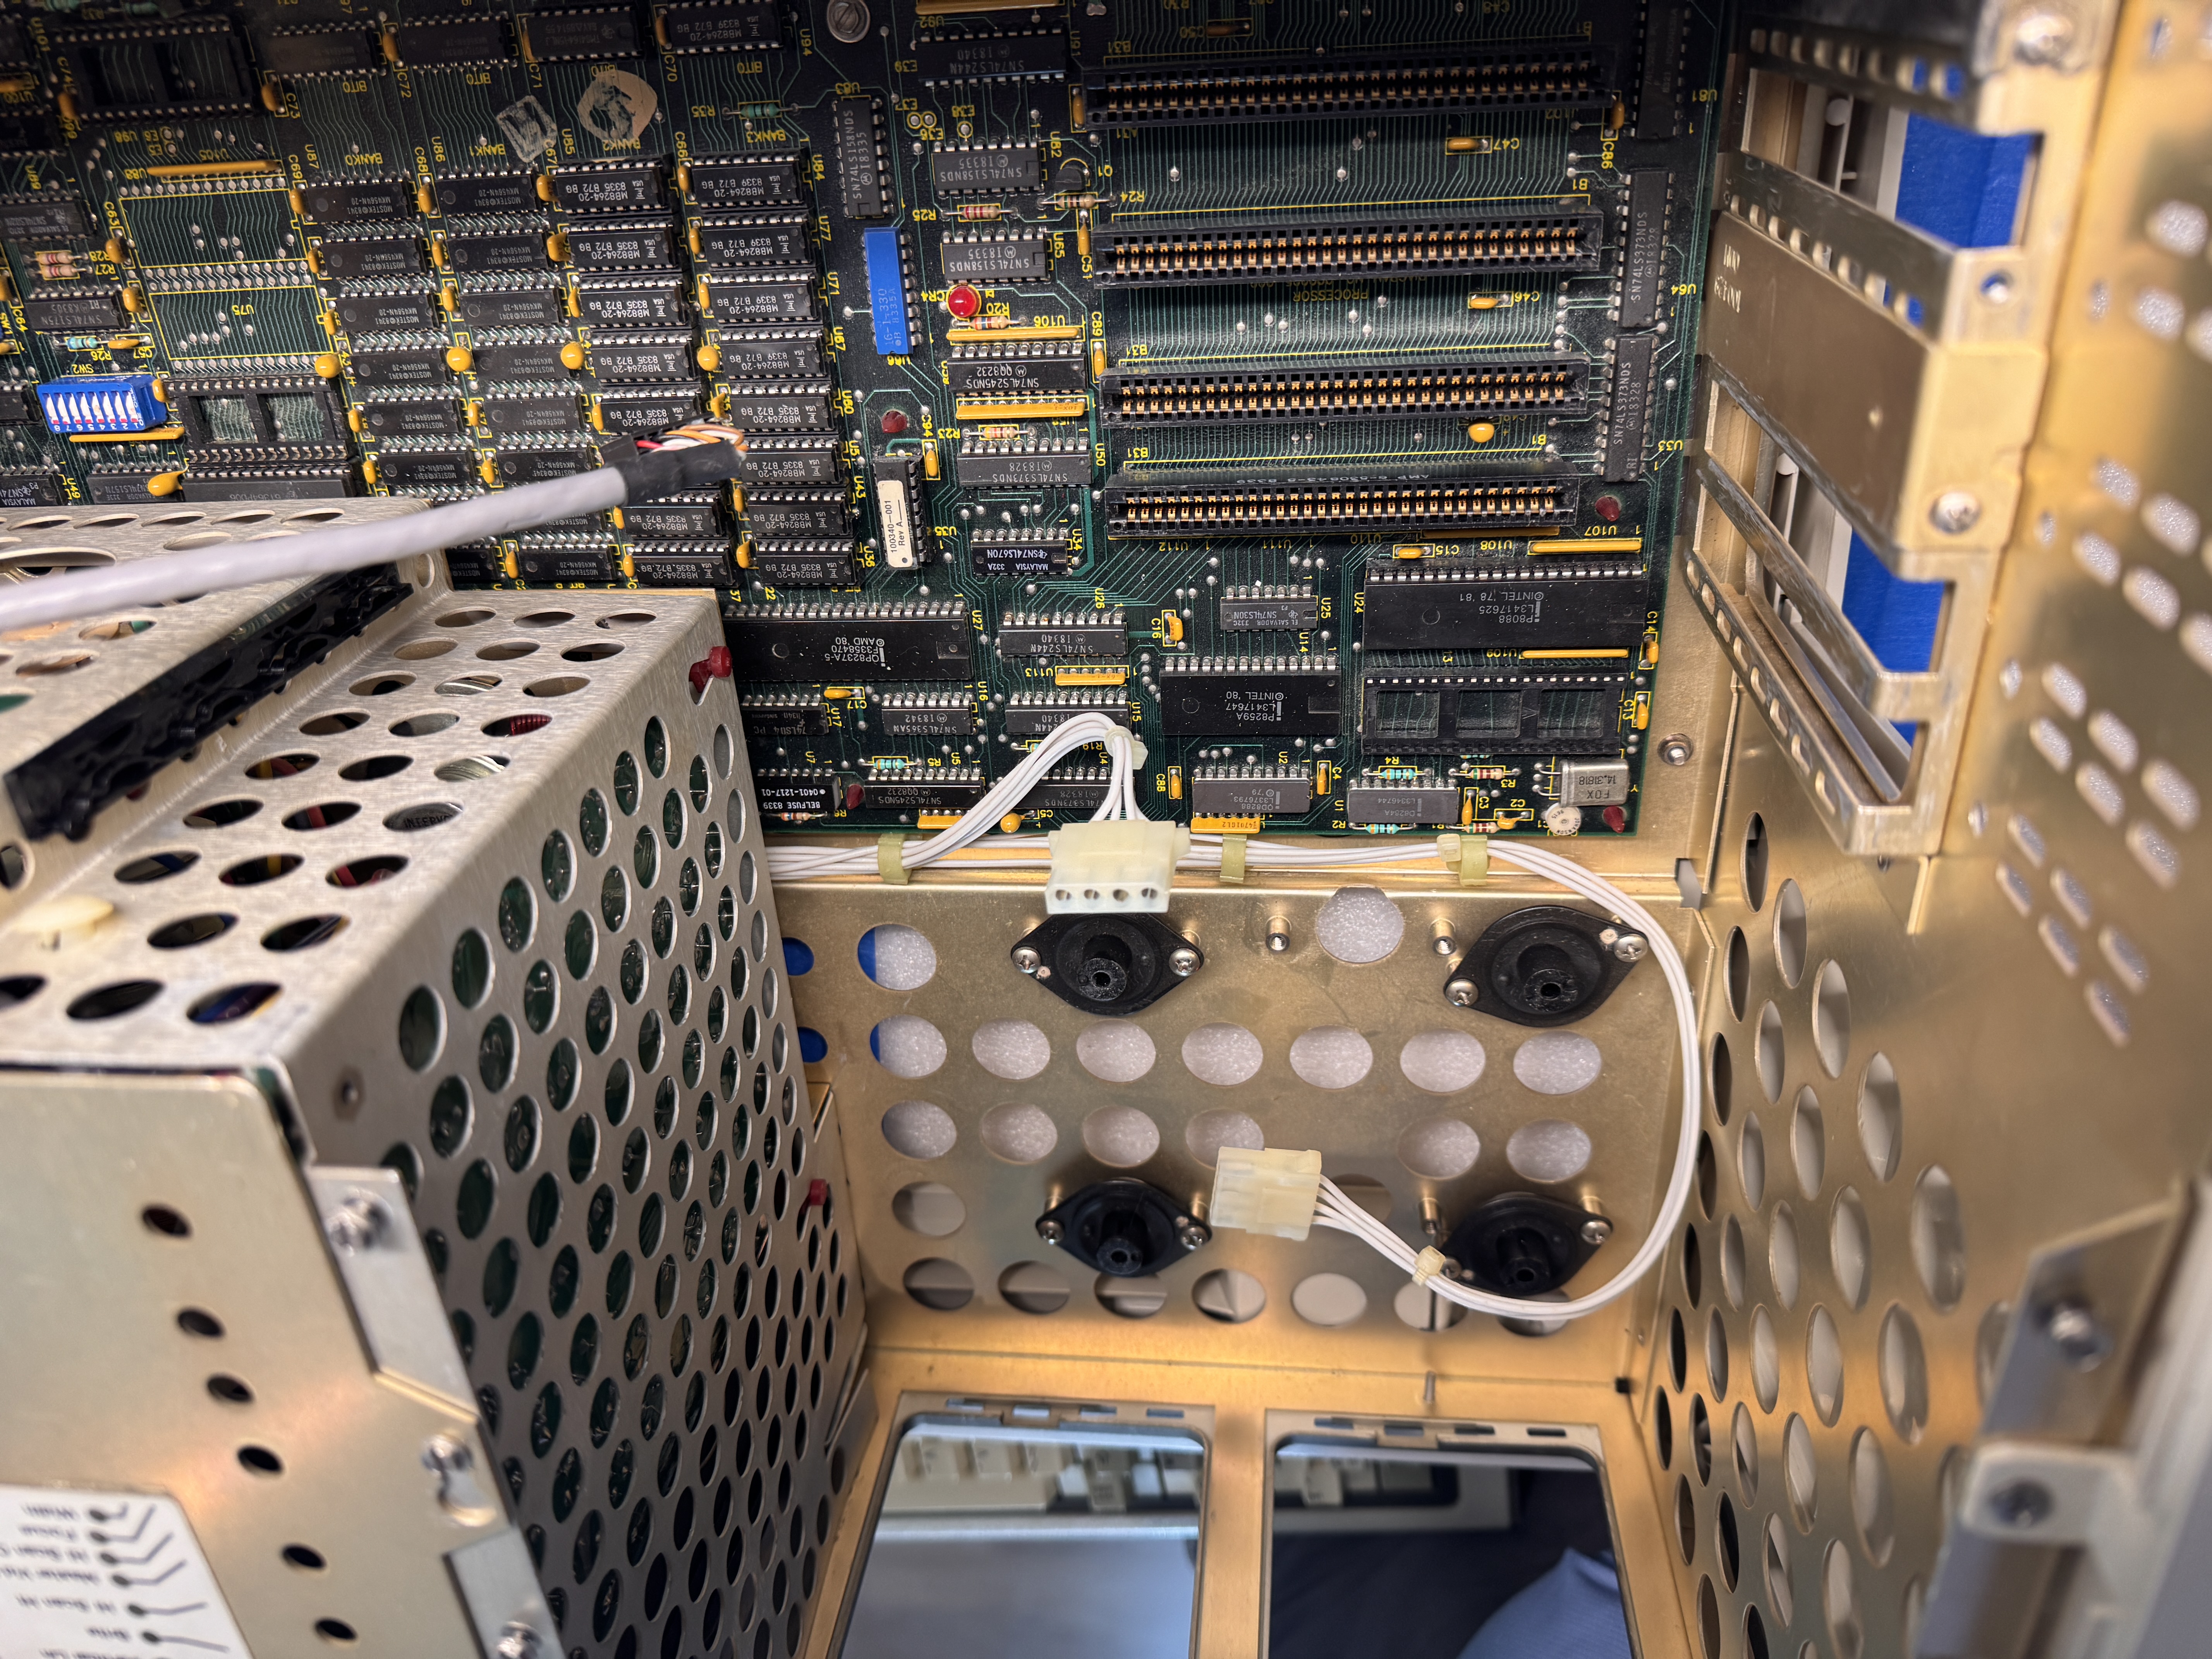
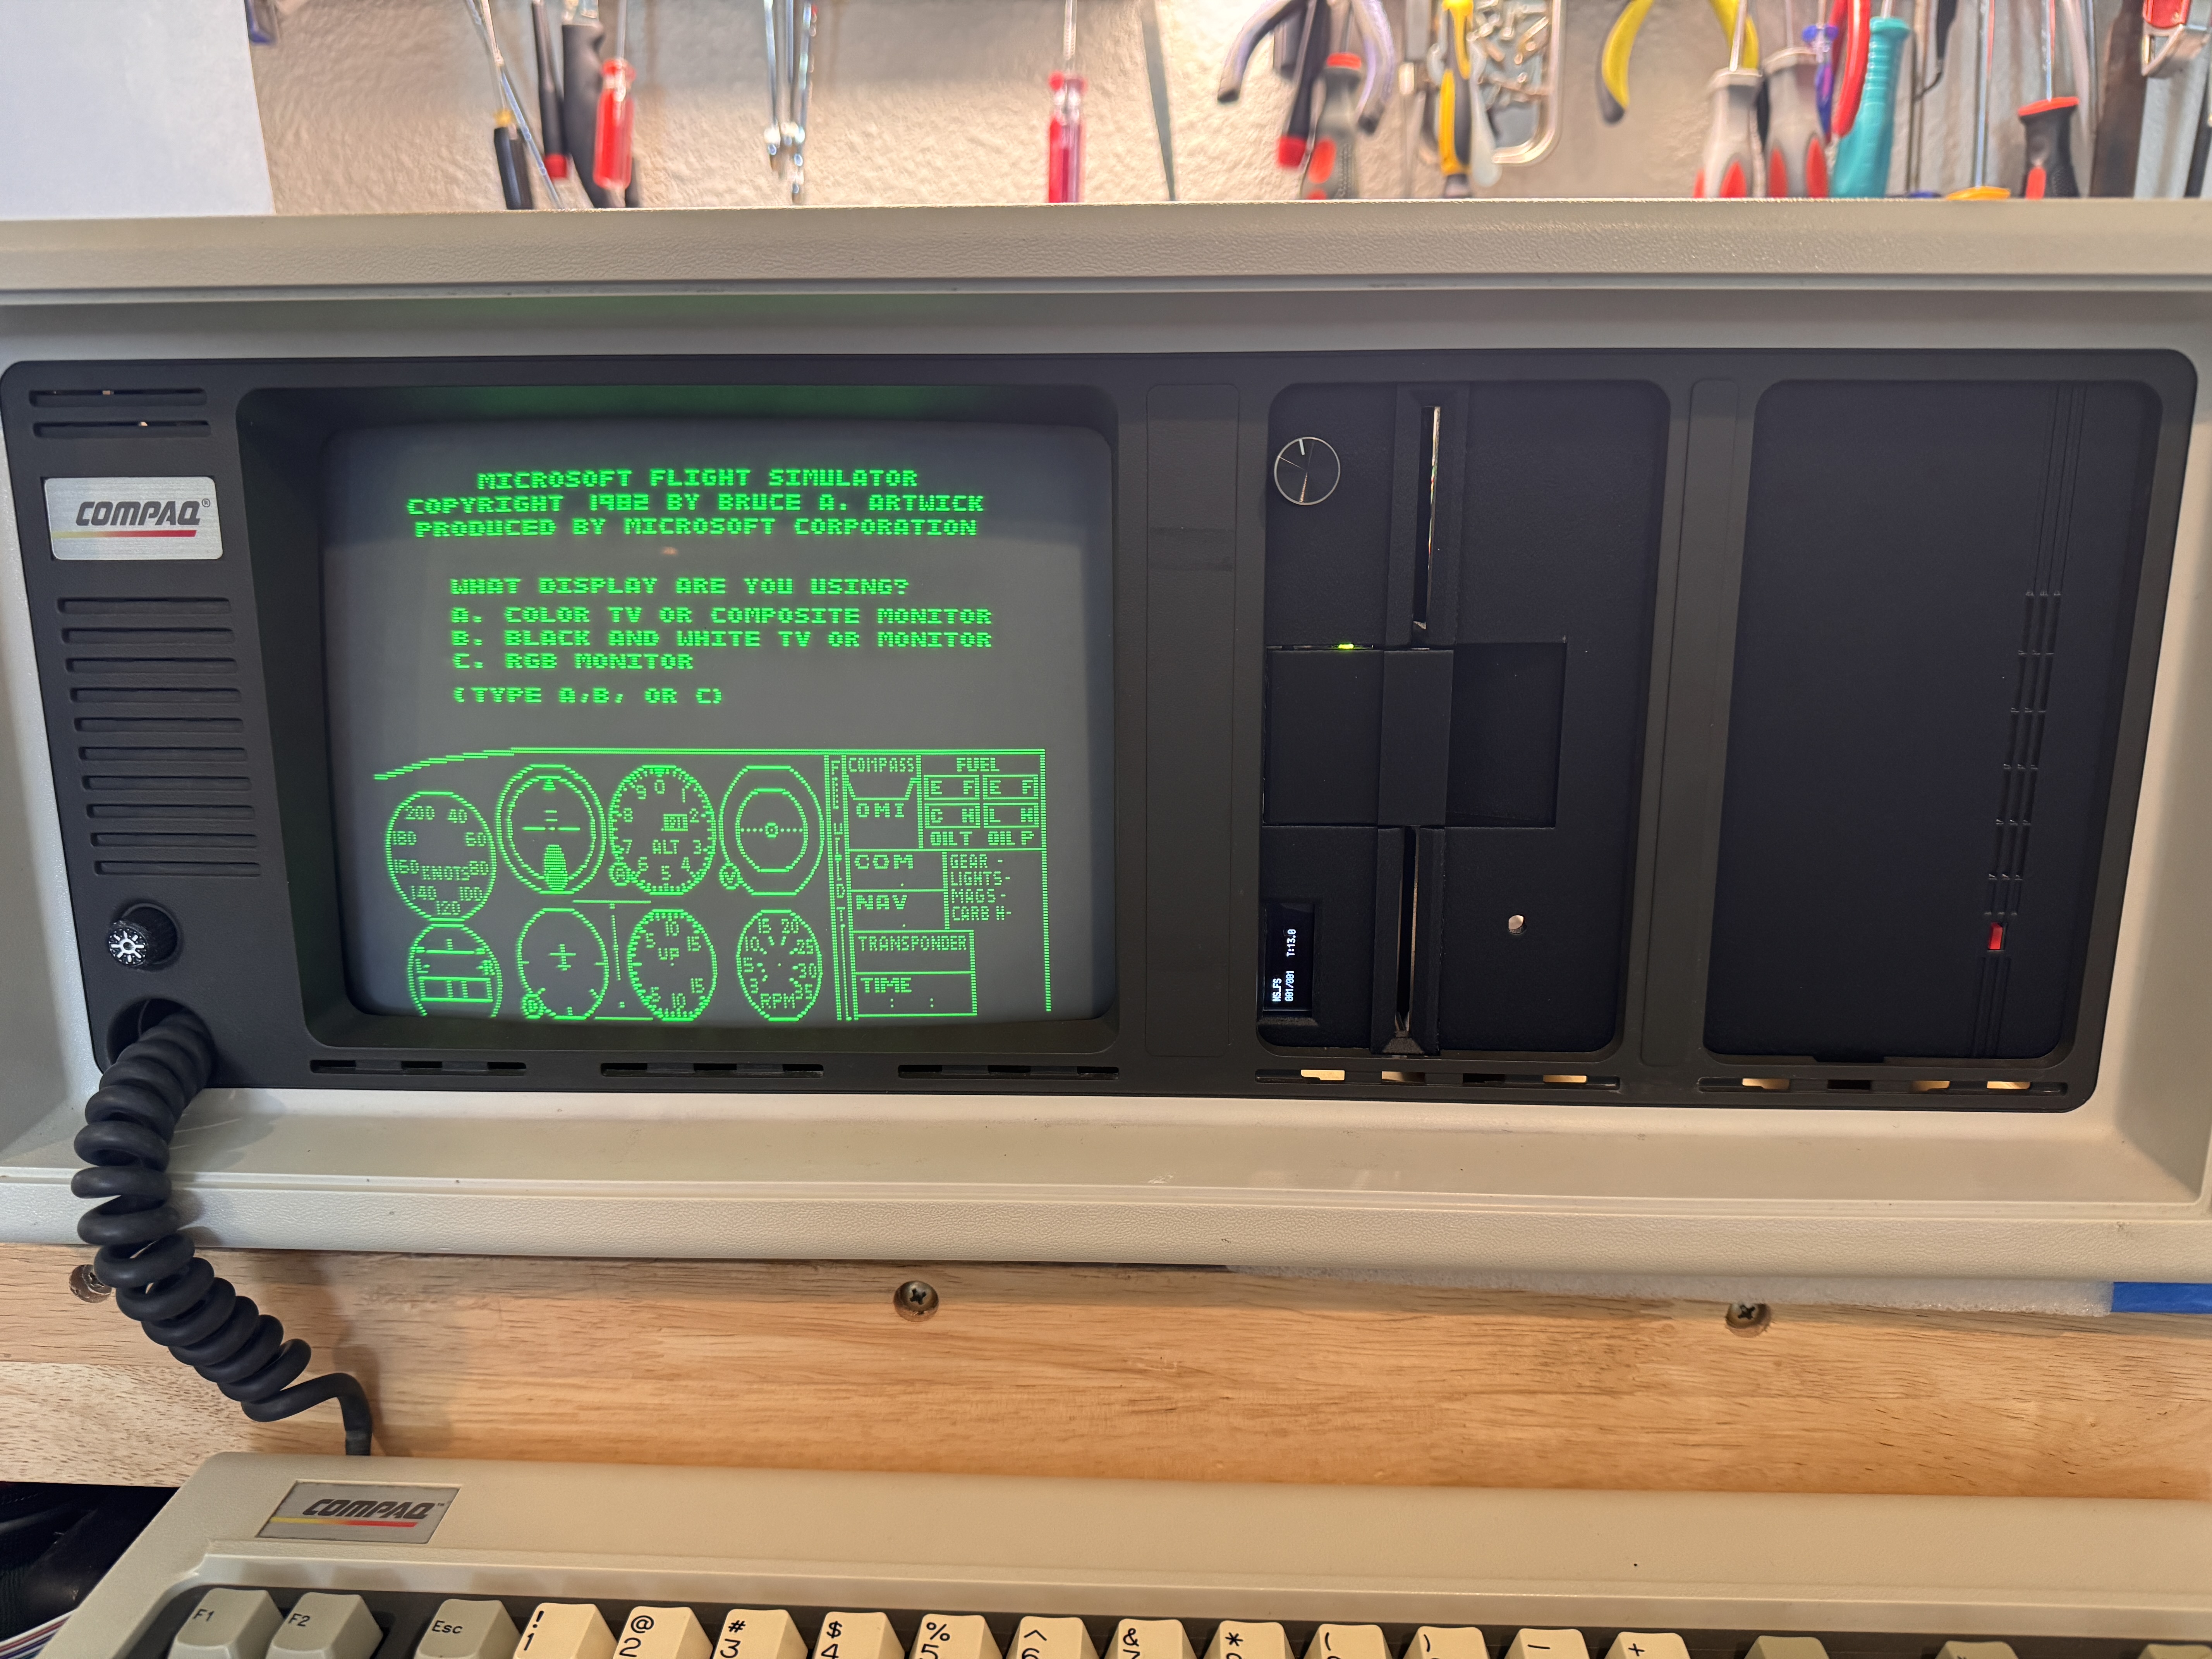
I picked up this Compaq Portable at a local vintage computer meetup in Dallas. At first glance, it looked promising. The display initialized, the machine powered on, and cosmetically it was in respectable condition. It had presence, and like most Compaq Portables, it still managed to look serious even sitting quietly on a bench.
But it didn’t take long to discover the gap between "powers on" and "actually usable." The keyboard was completely unresponsive, and Drive A would not boot. The machine looked intact, and the screen displayed, but as a practical computer, it was dead in the water.
It powered on, but thats about where the good news ended.
Why a Simple Repair Wasn't Enough
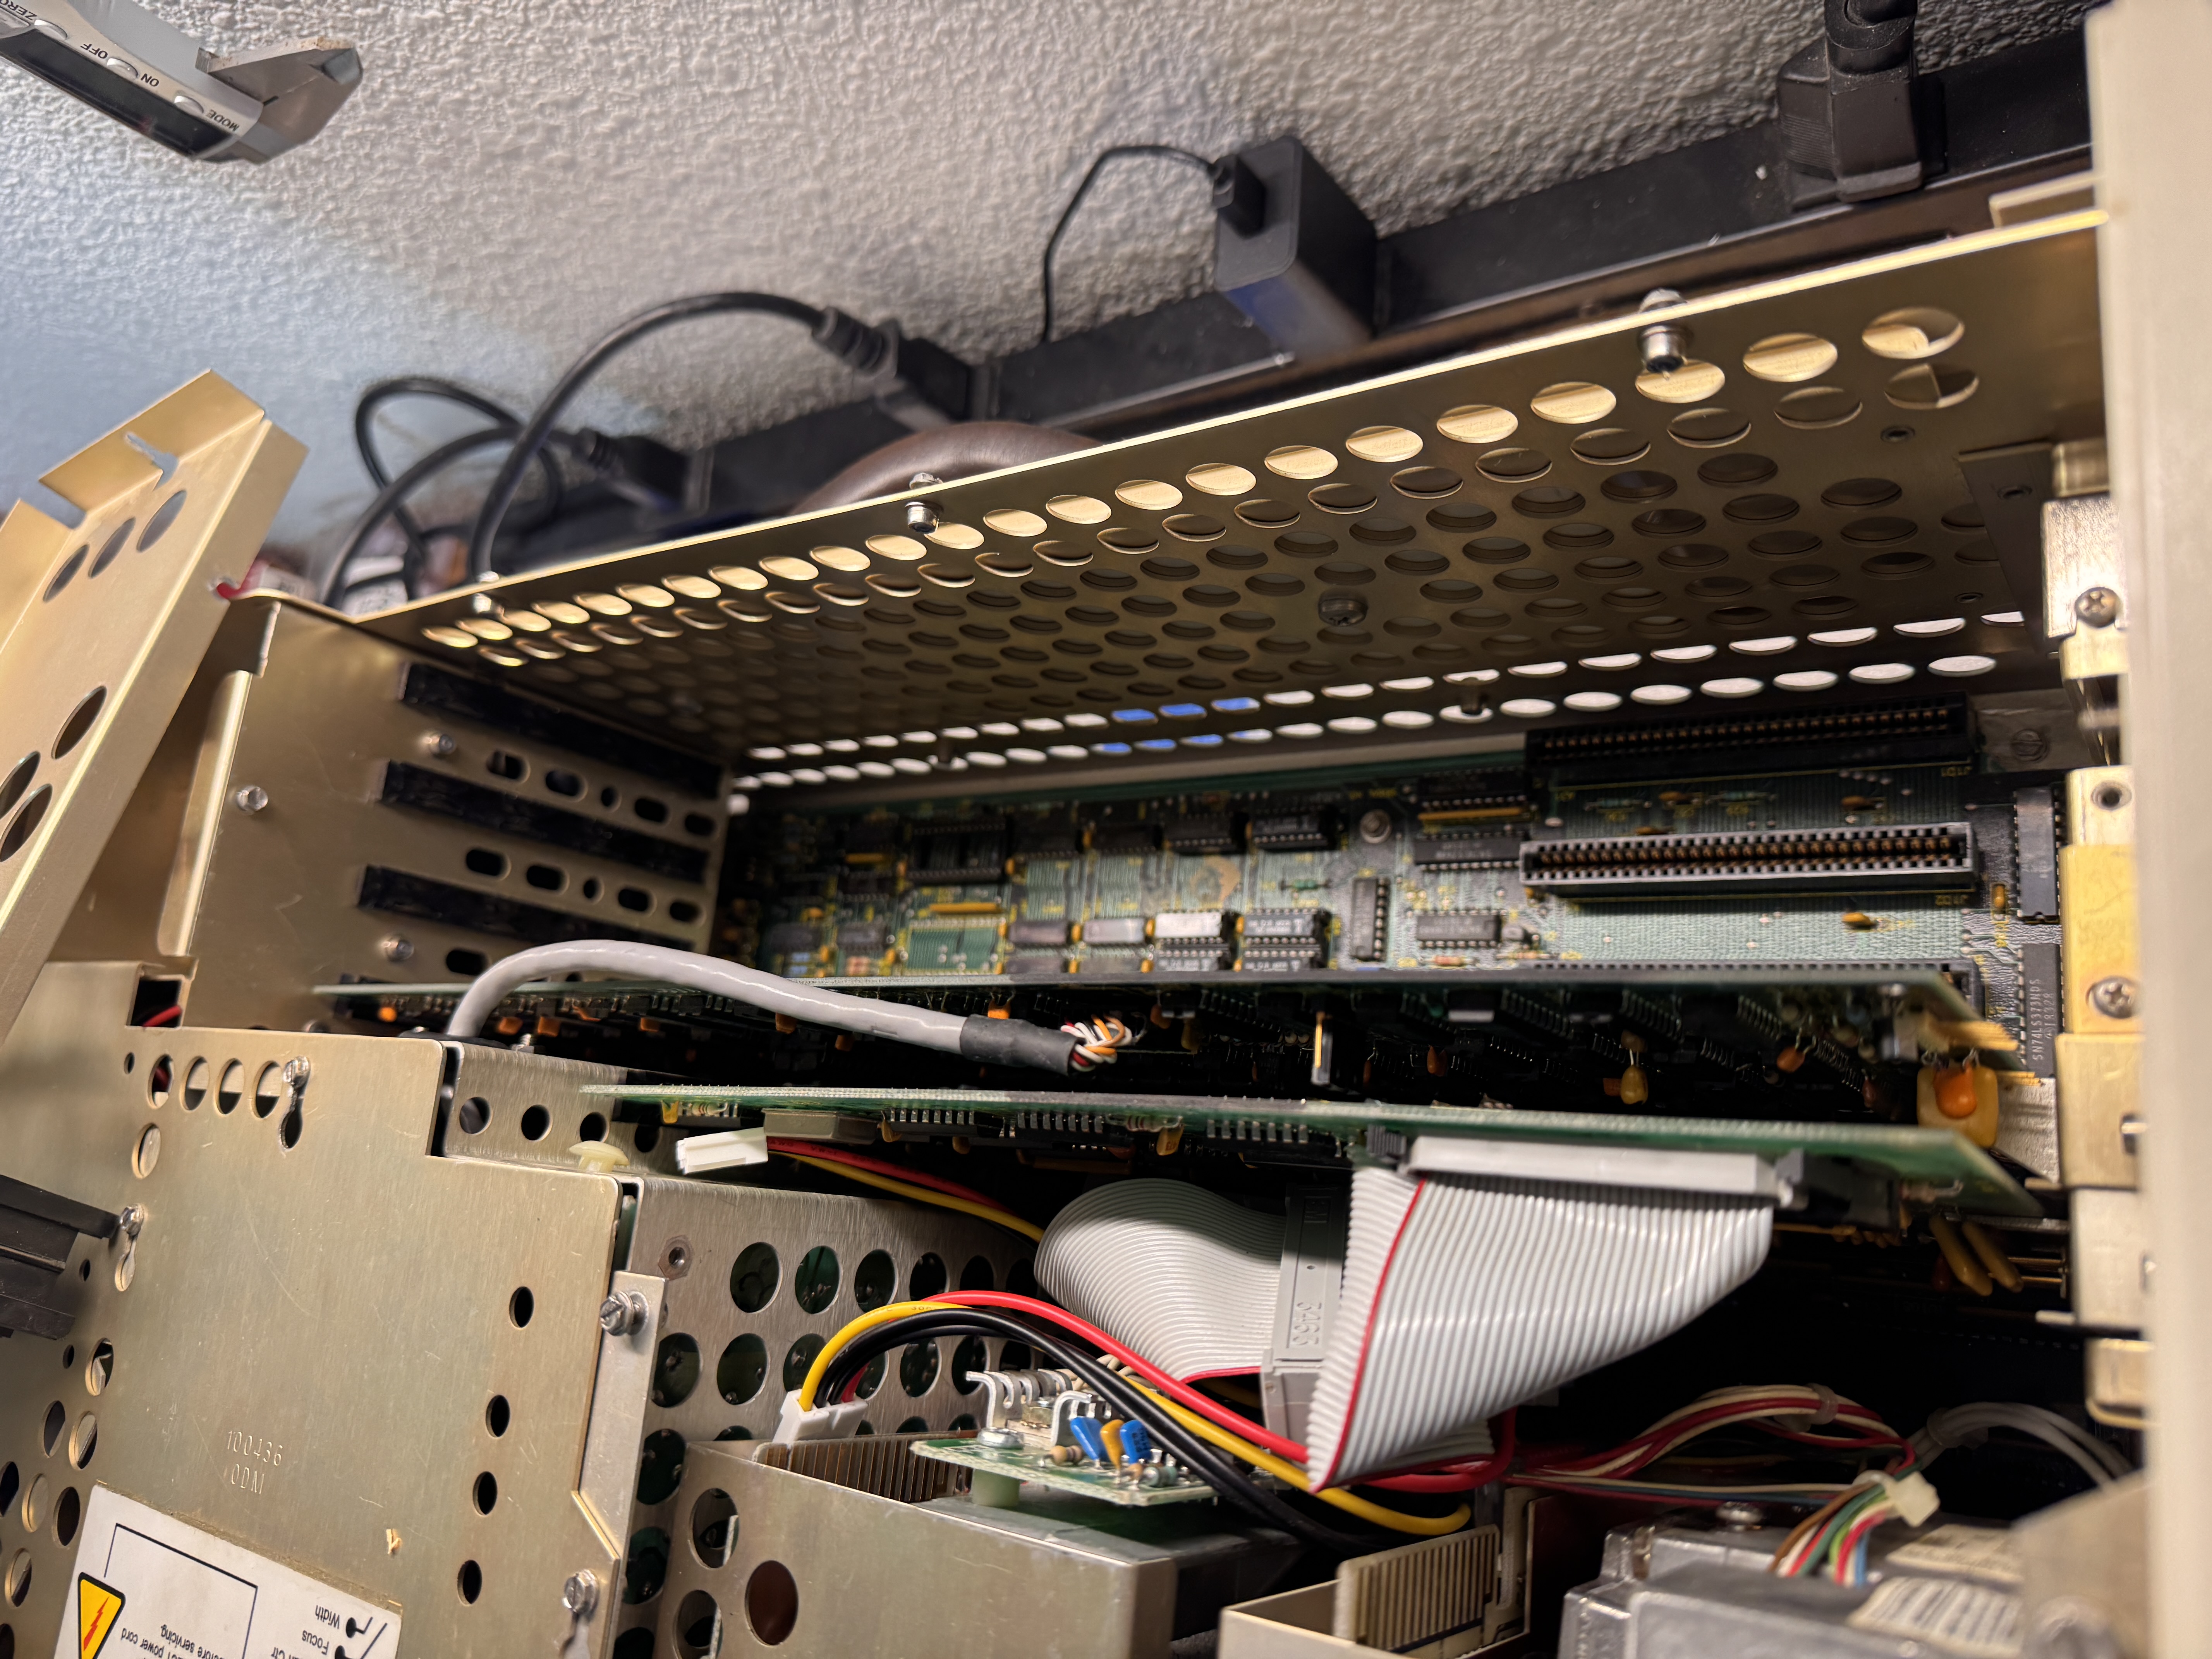
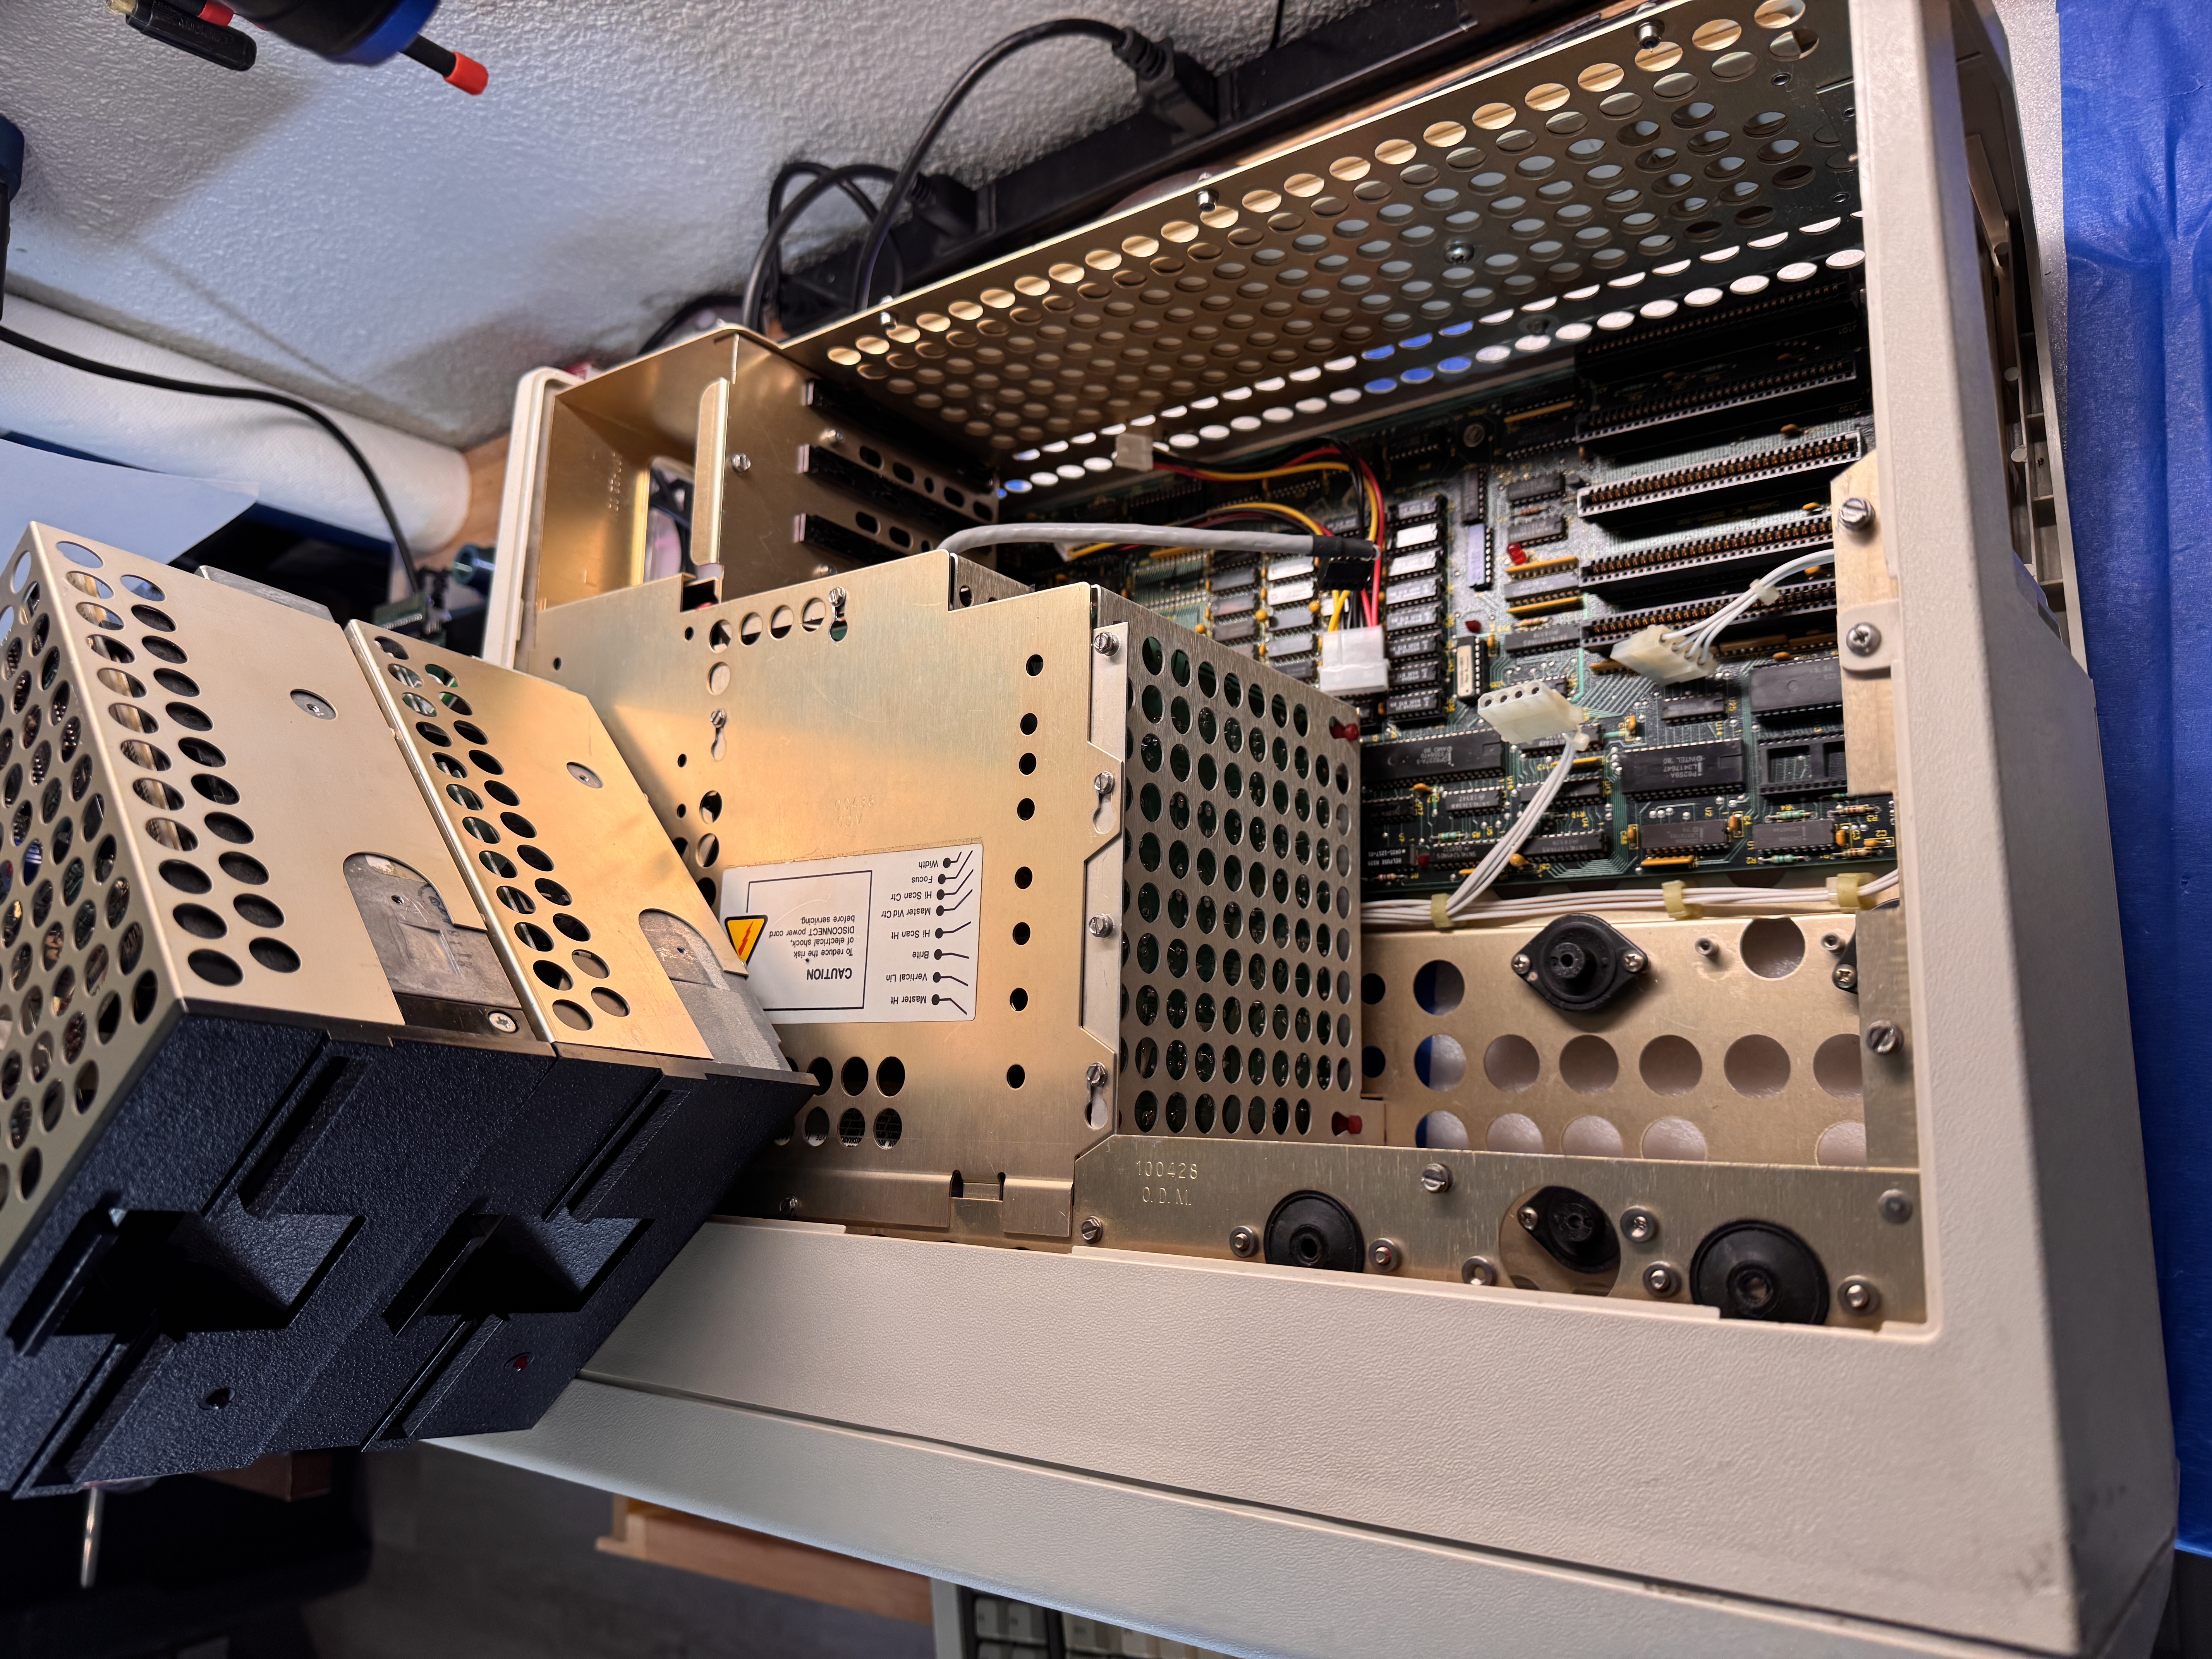
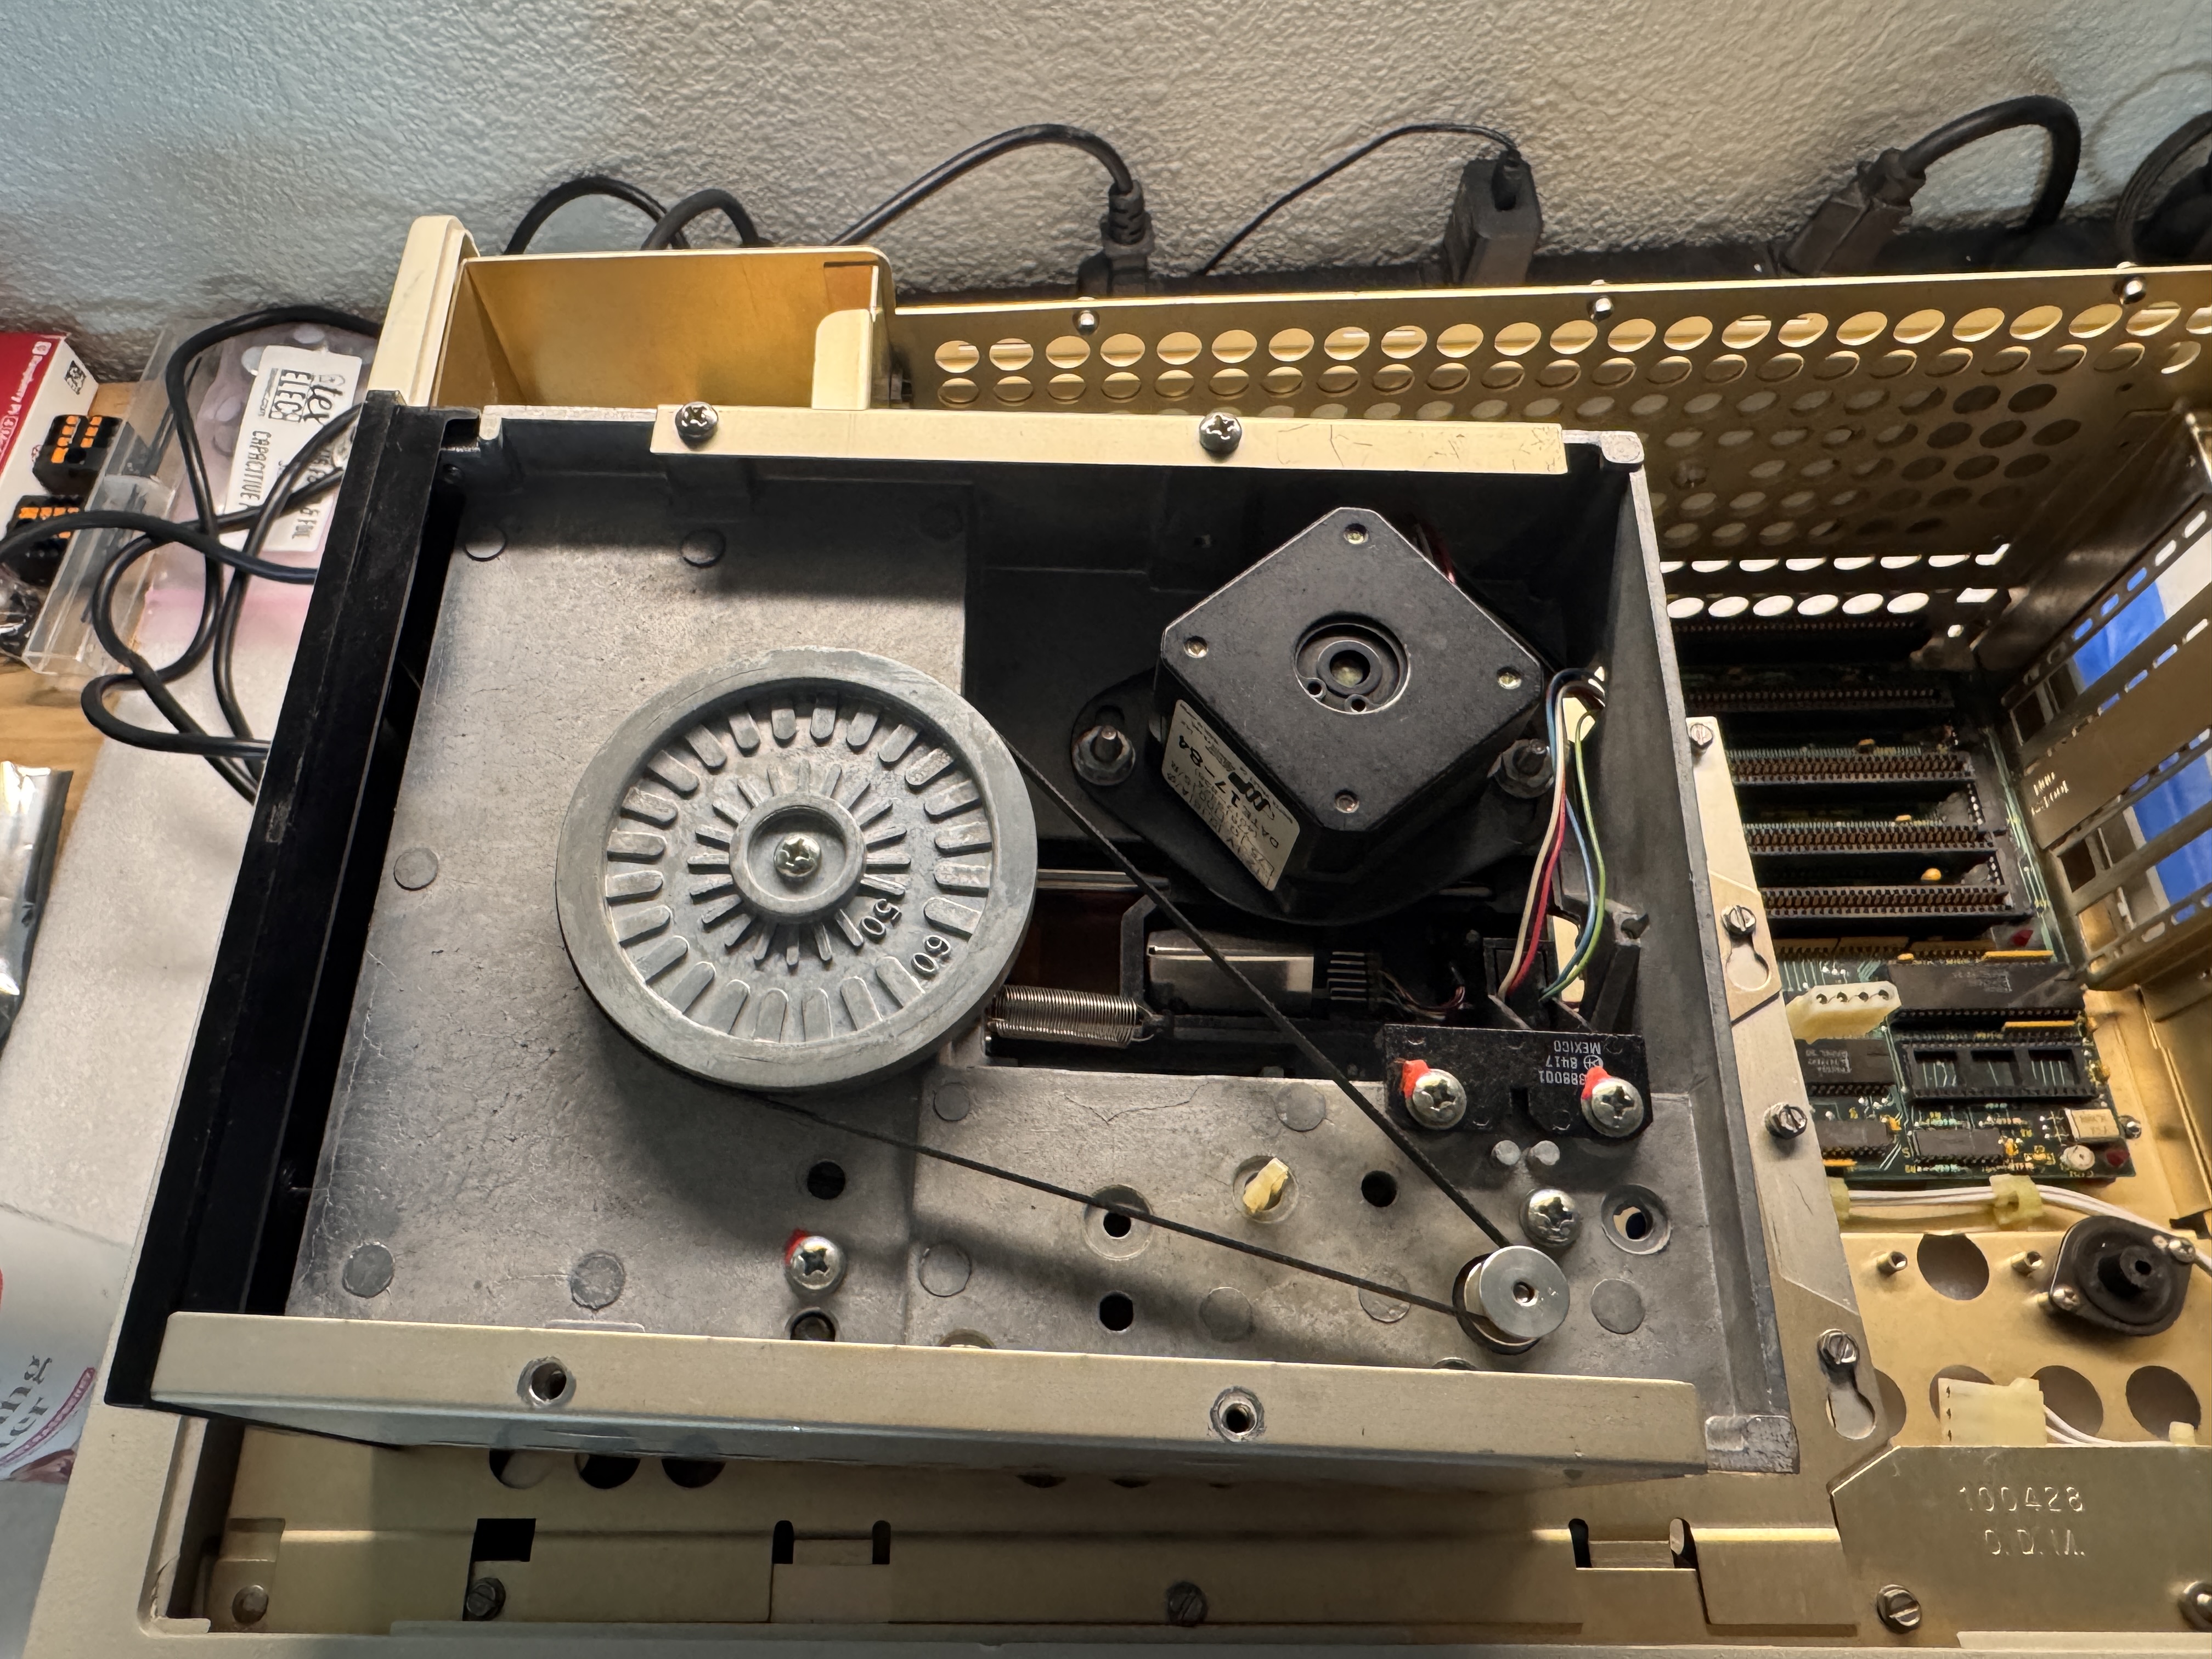
The obvious restoration path would have been to repair the keyboard, rebuild the floppy subsystem, and leave the machine as original as possible. That approach has its merits, and on some machines it is indeed the right answer.
But on this one, I kept coming back to the same question: what do you really gain if the machine still depends on fragile media and aging mechanical parts? It might be historically pure, but it would still be inconvenient, temperamental, and certainly less less likely to be used.
So I made a different choice. I decided to preserve the look and character of the machine while quietly improving what mattered most, reliability, usability, and storage.
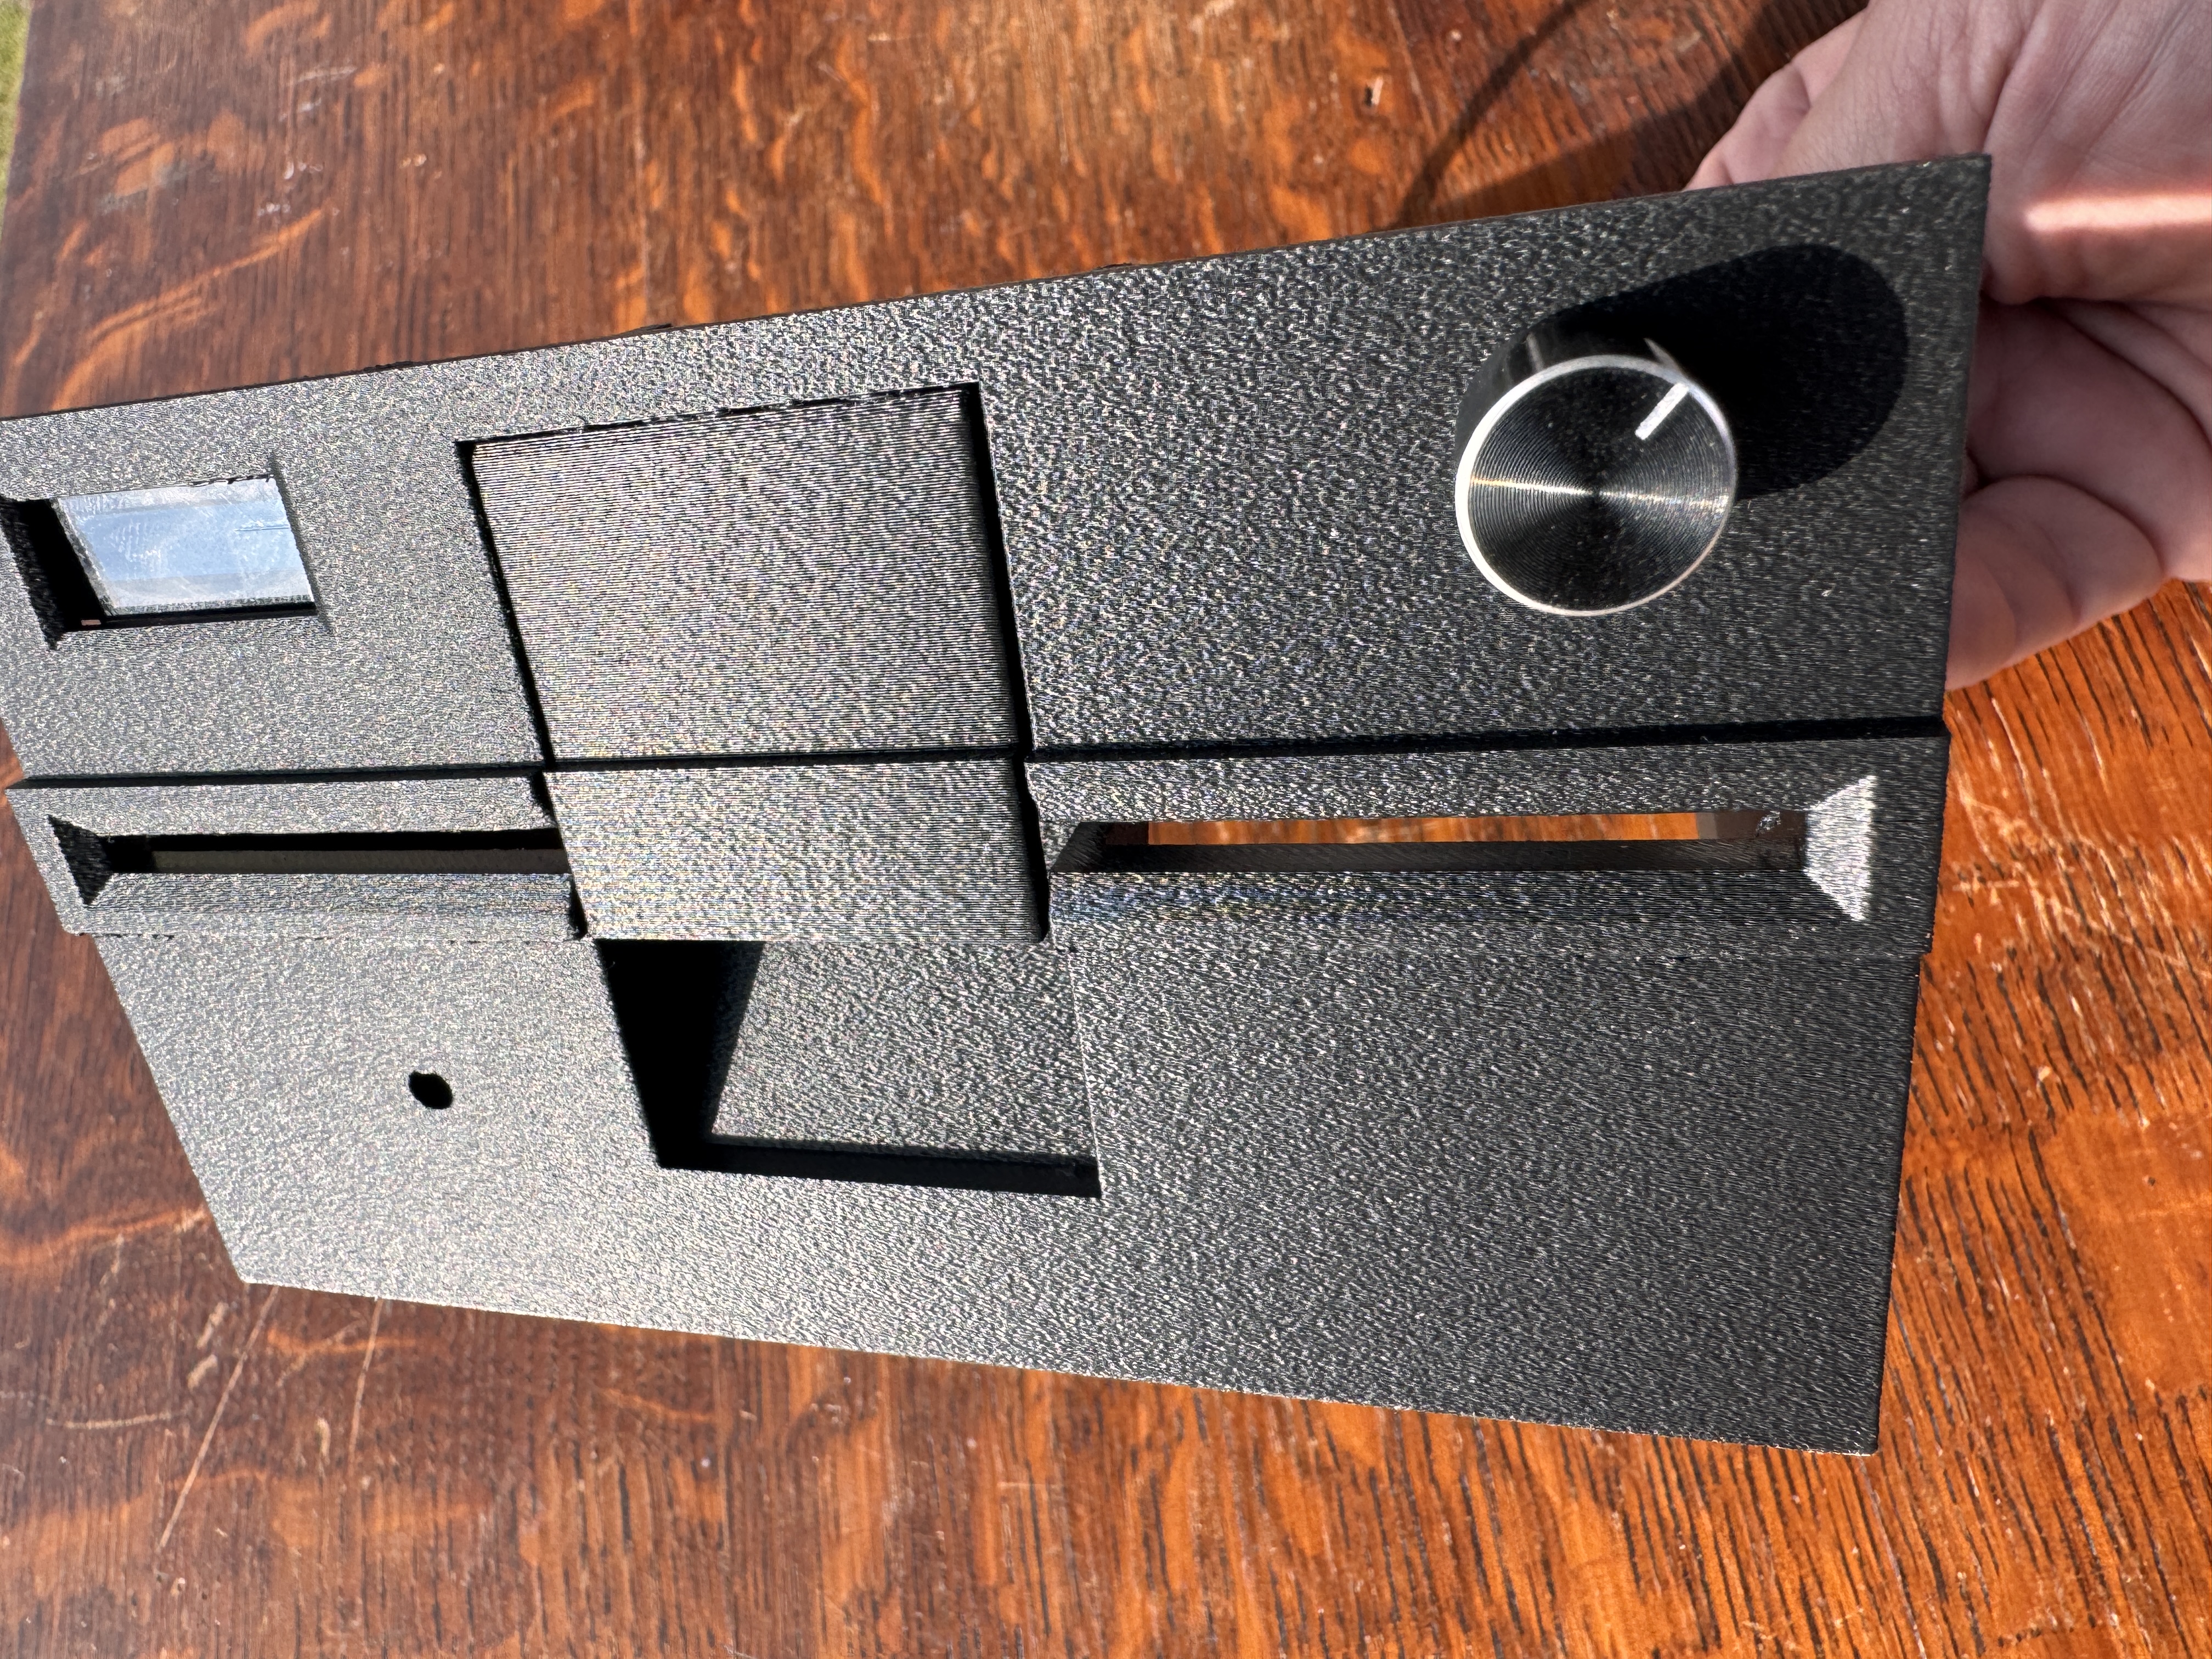
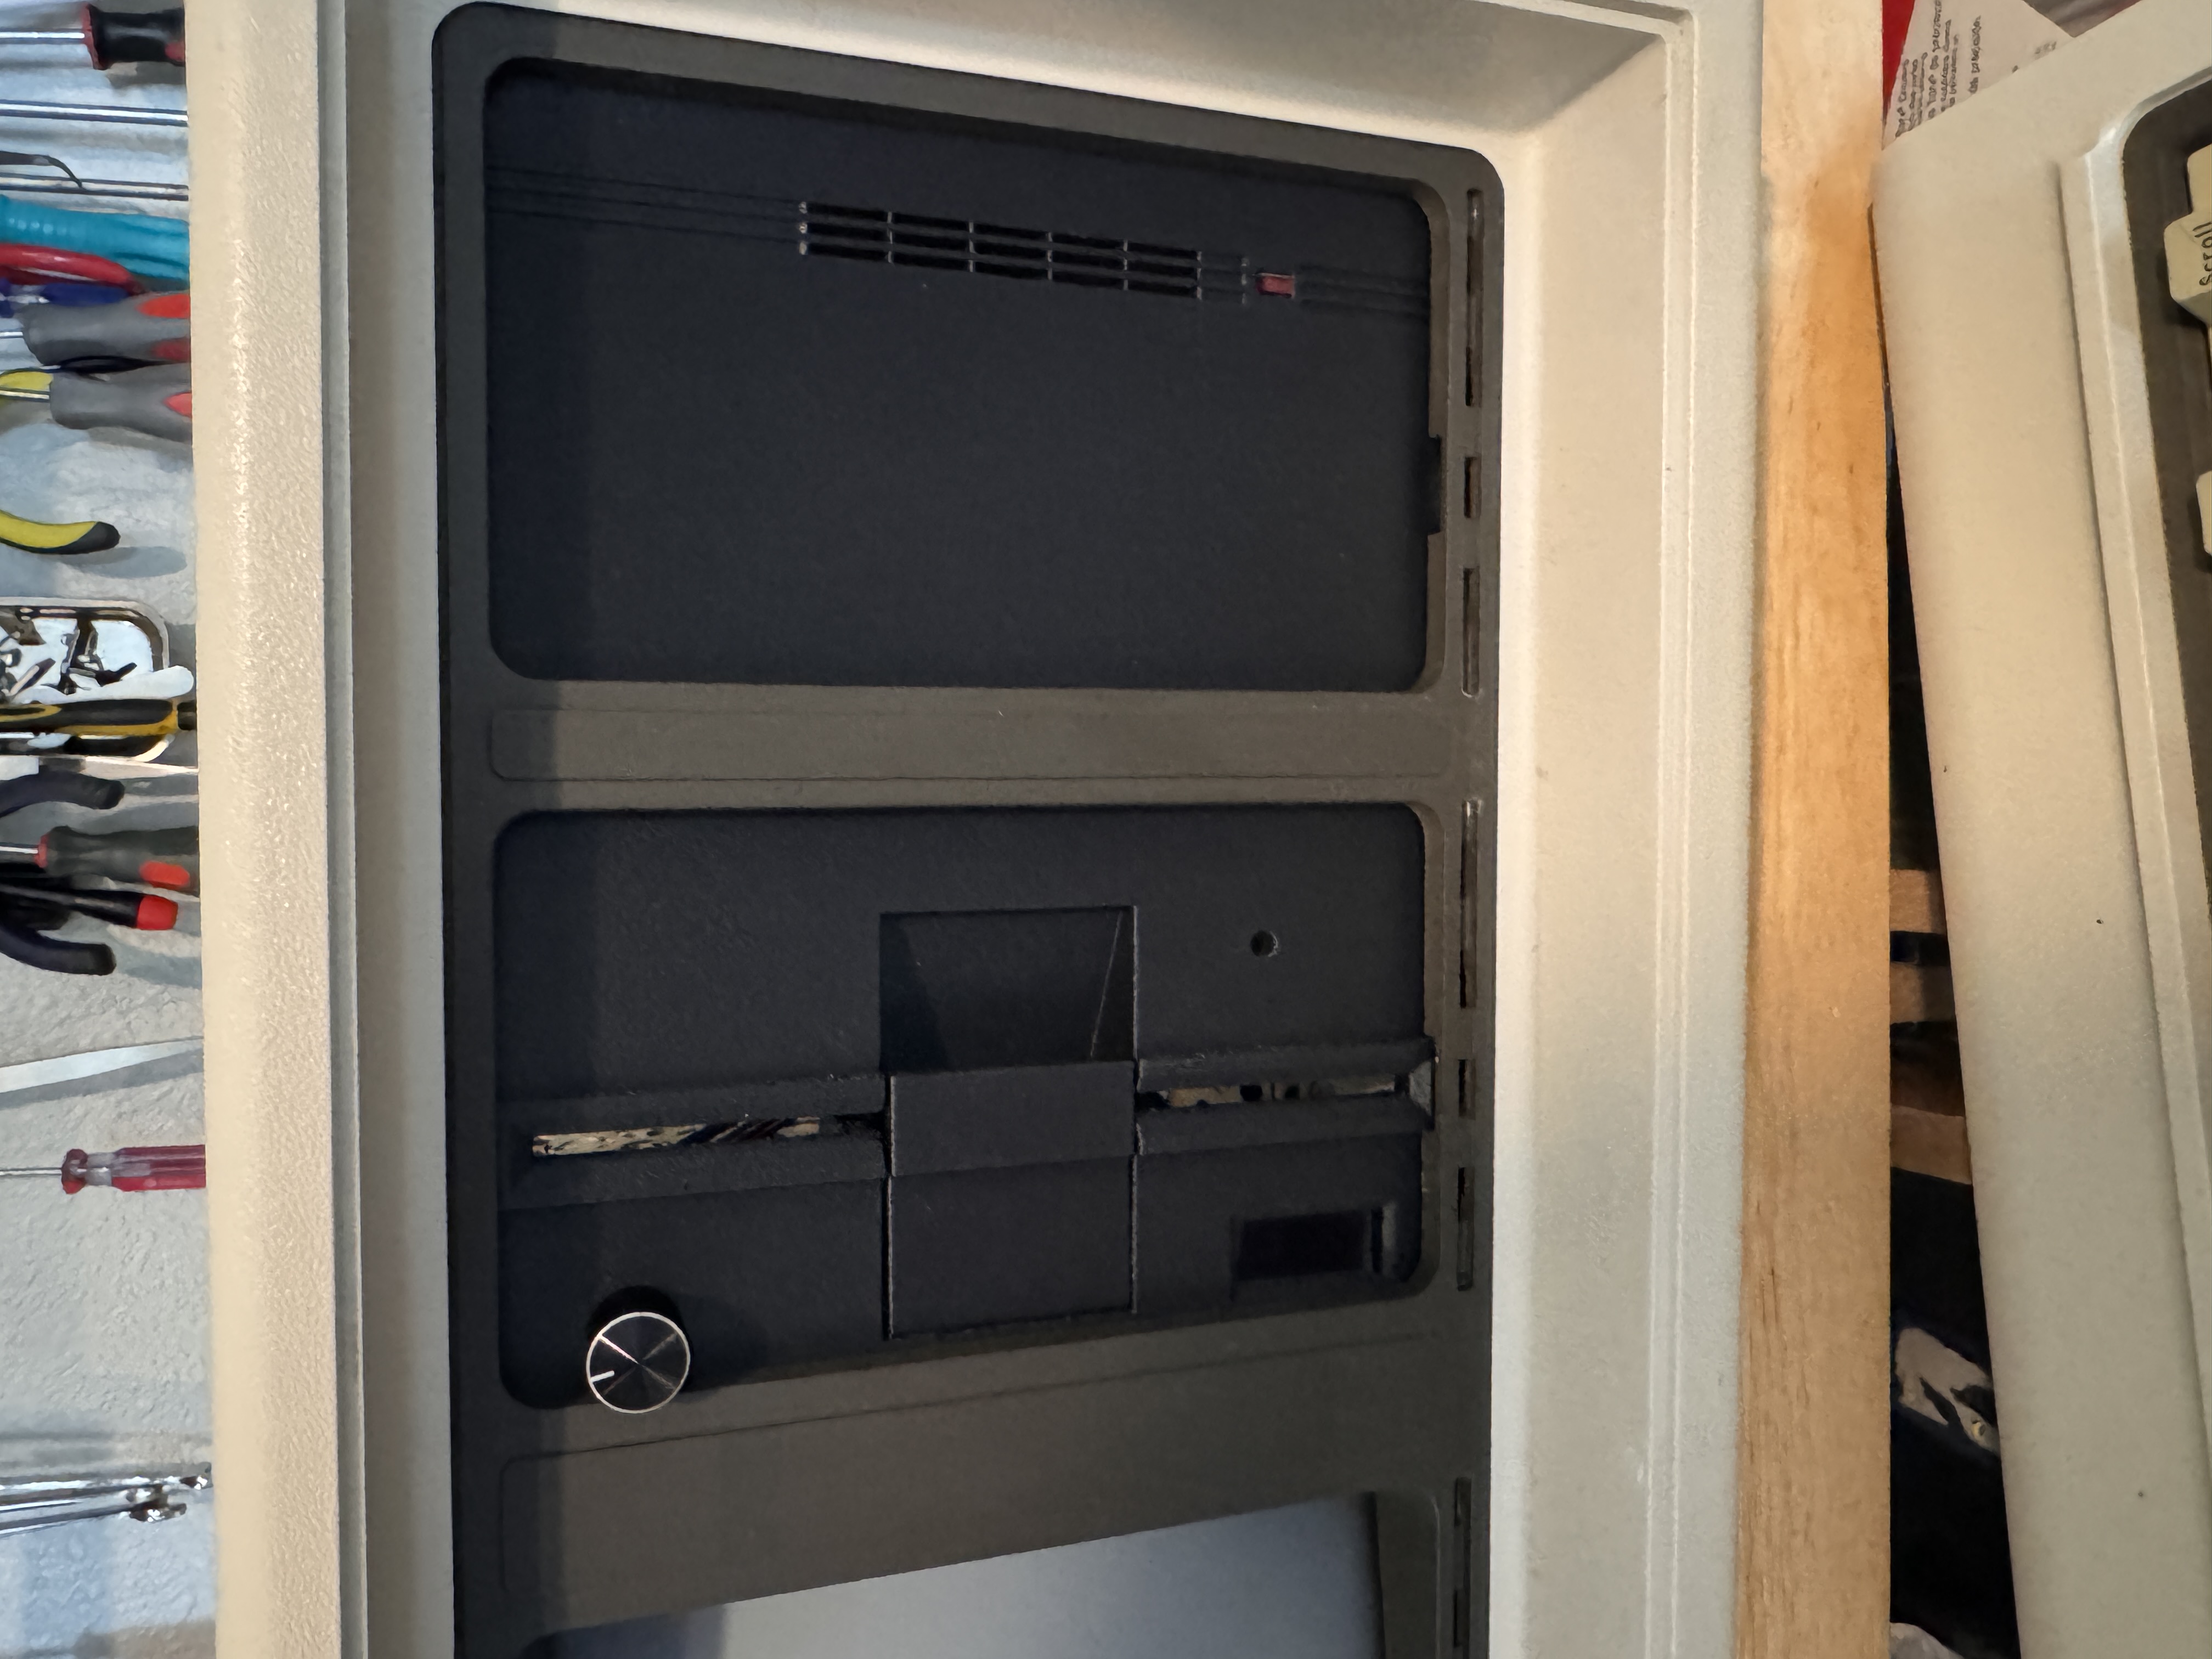
Designing Bezels That Belong
This became the most interesting part of the project.
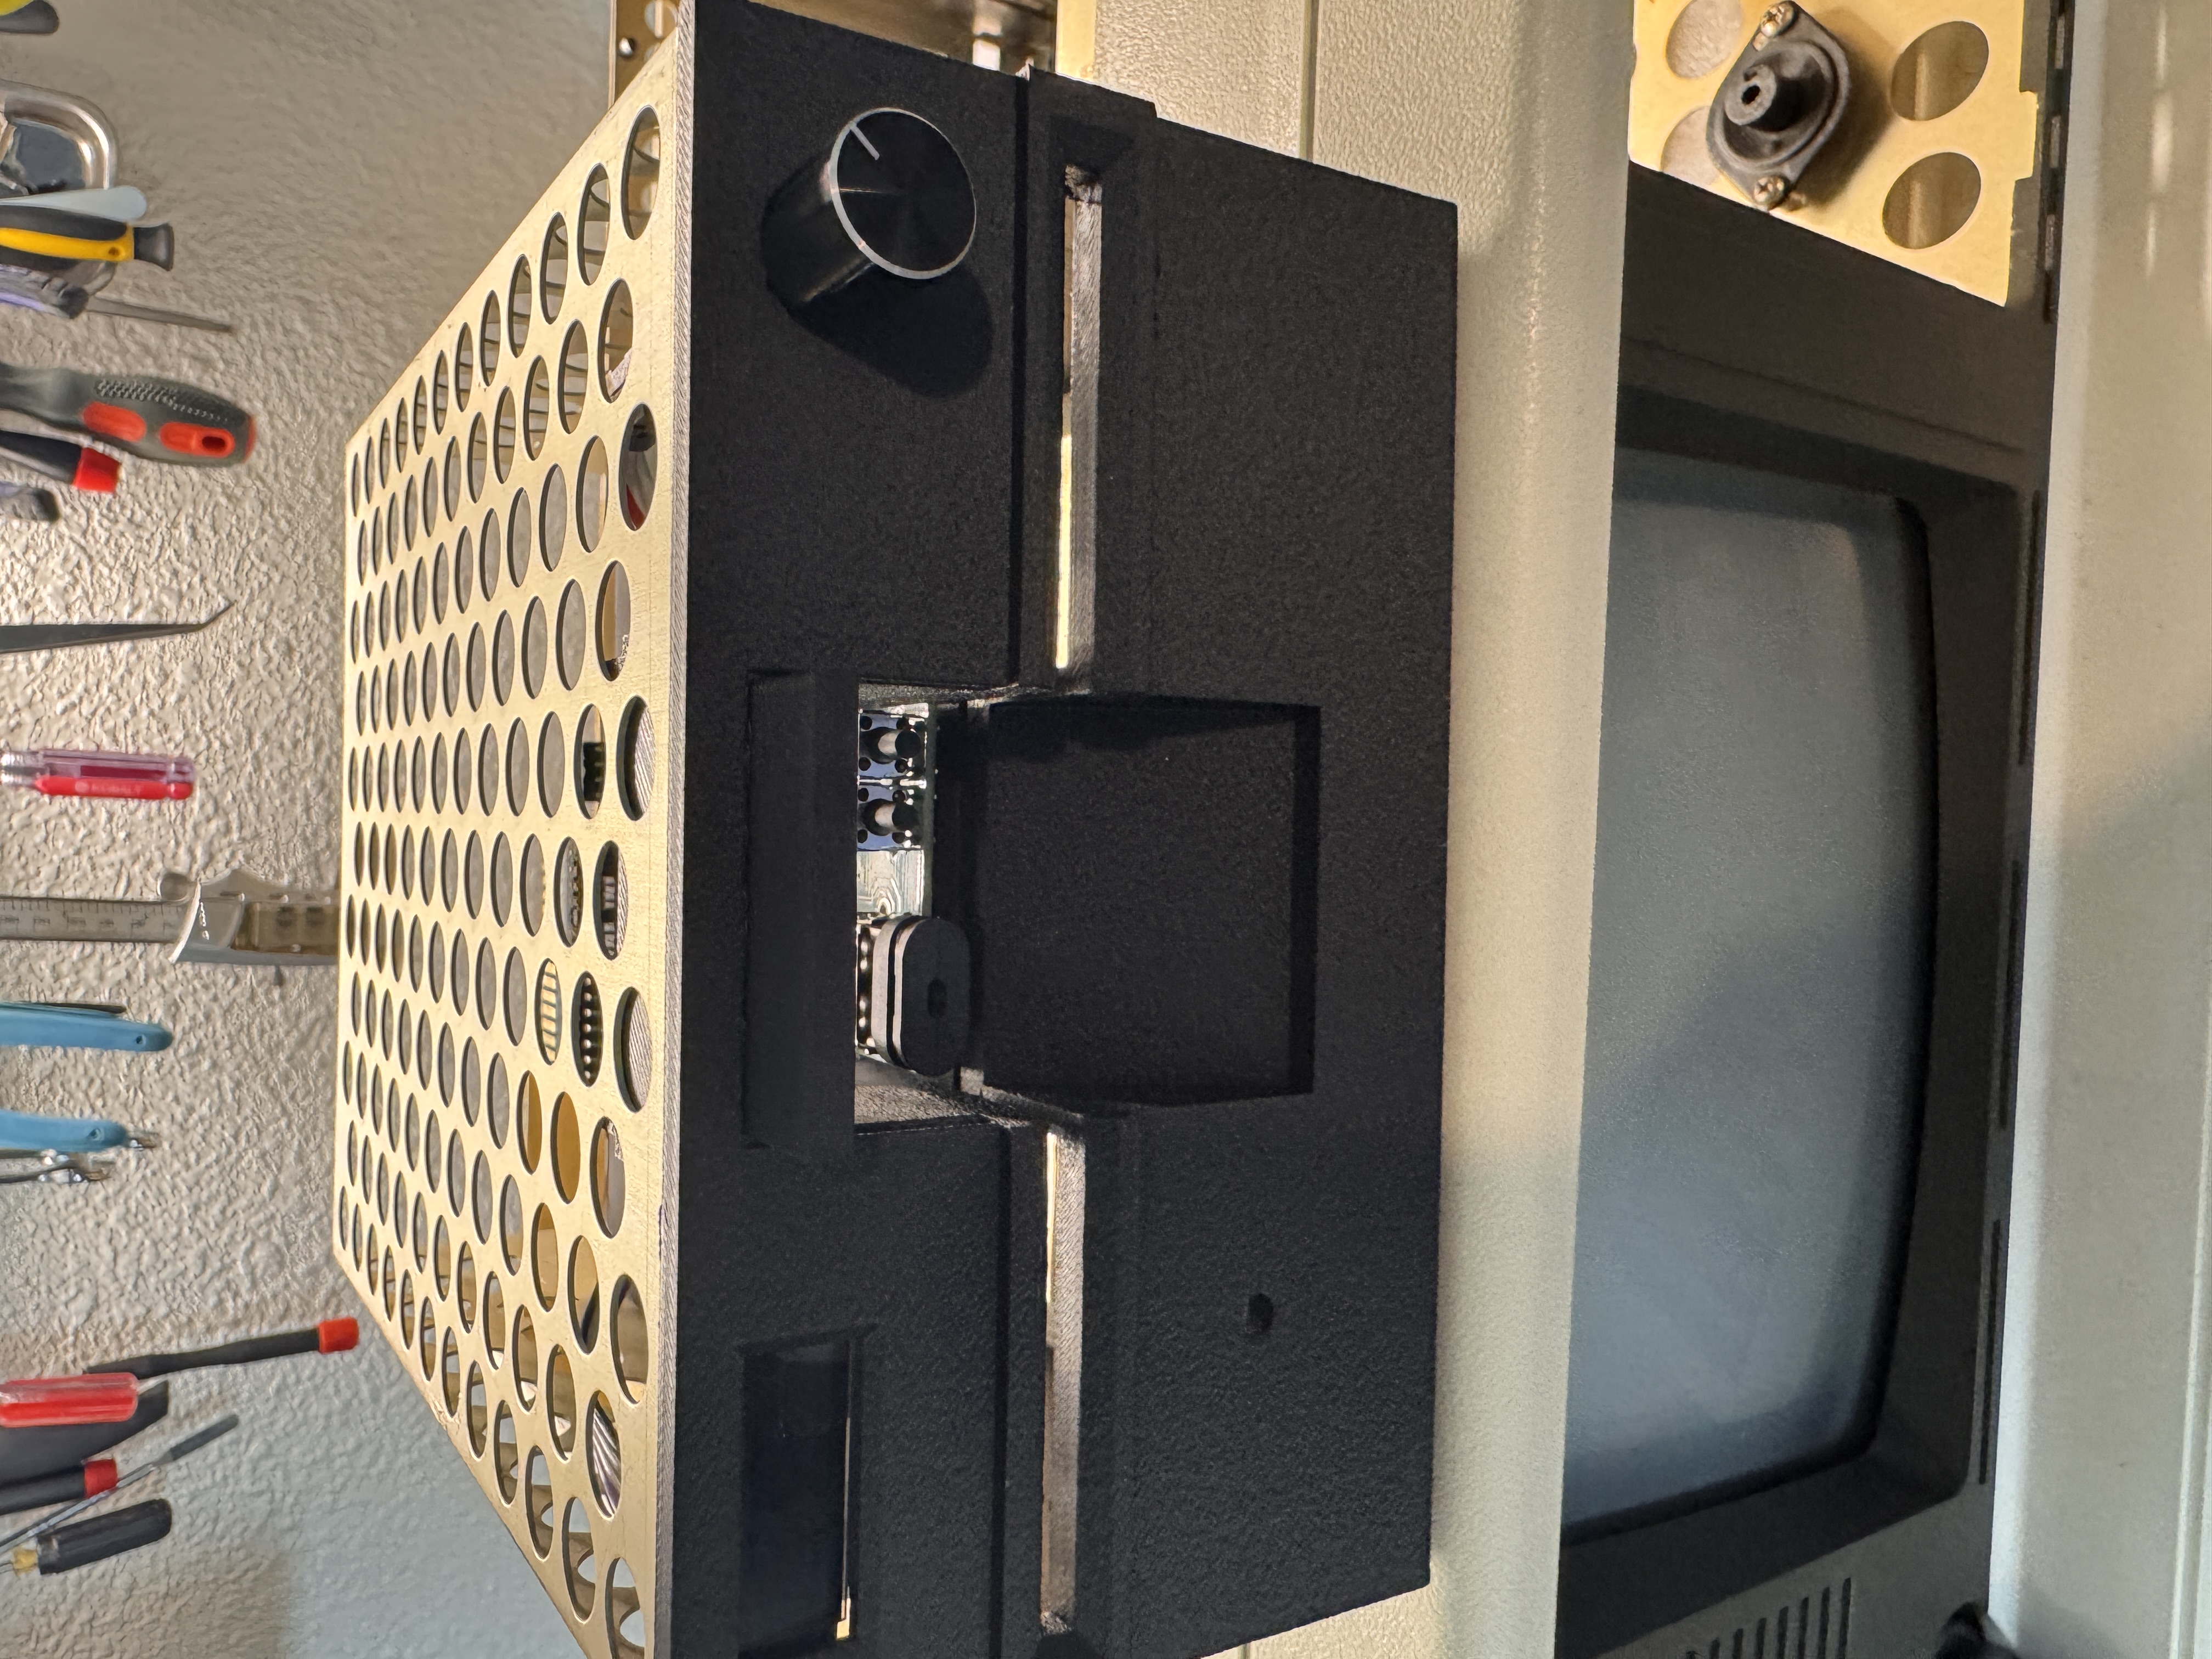
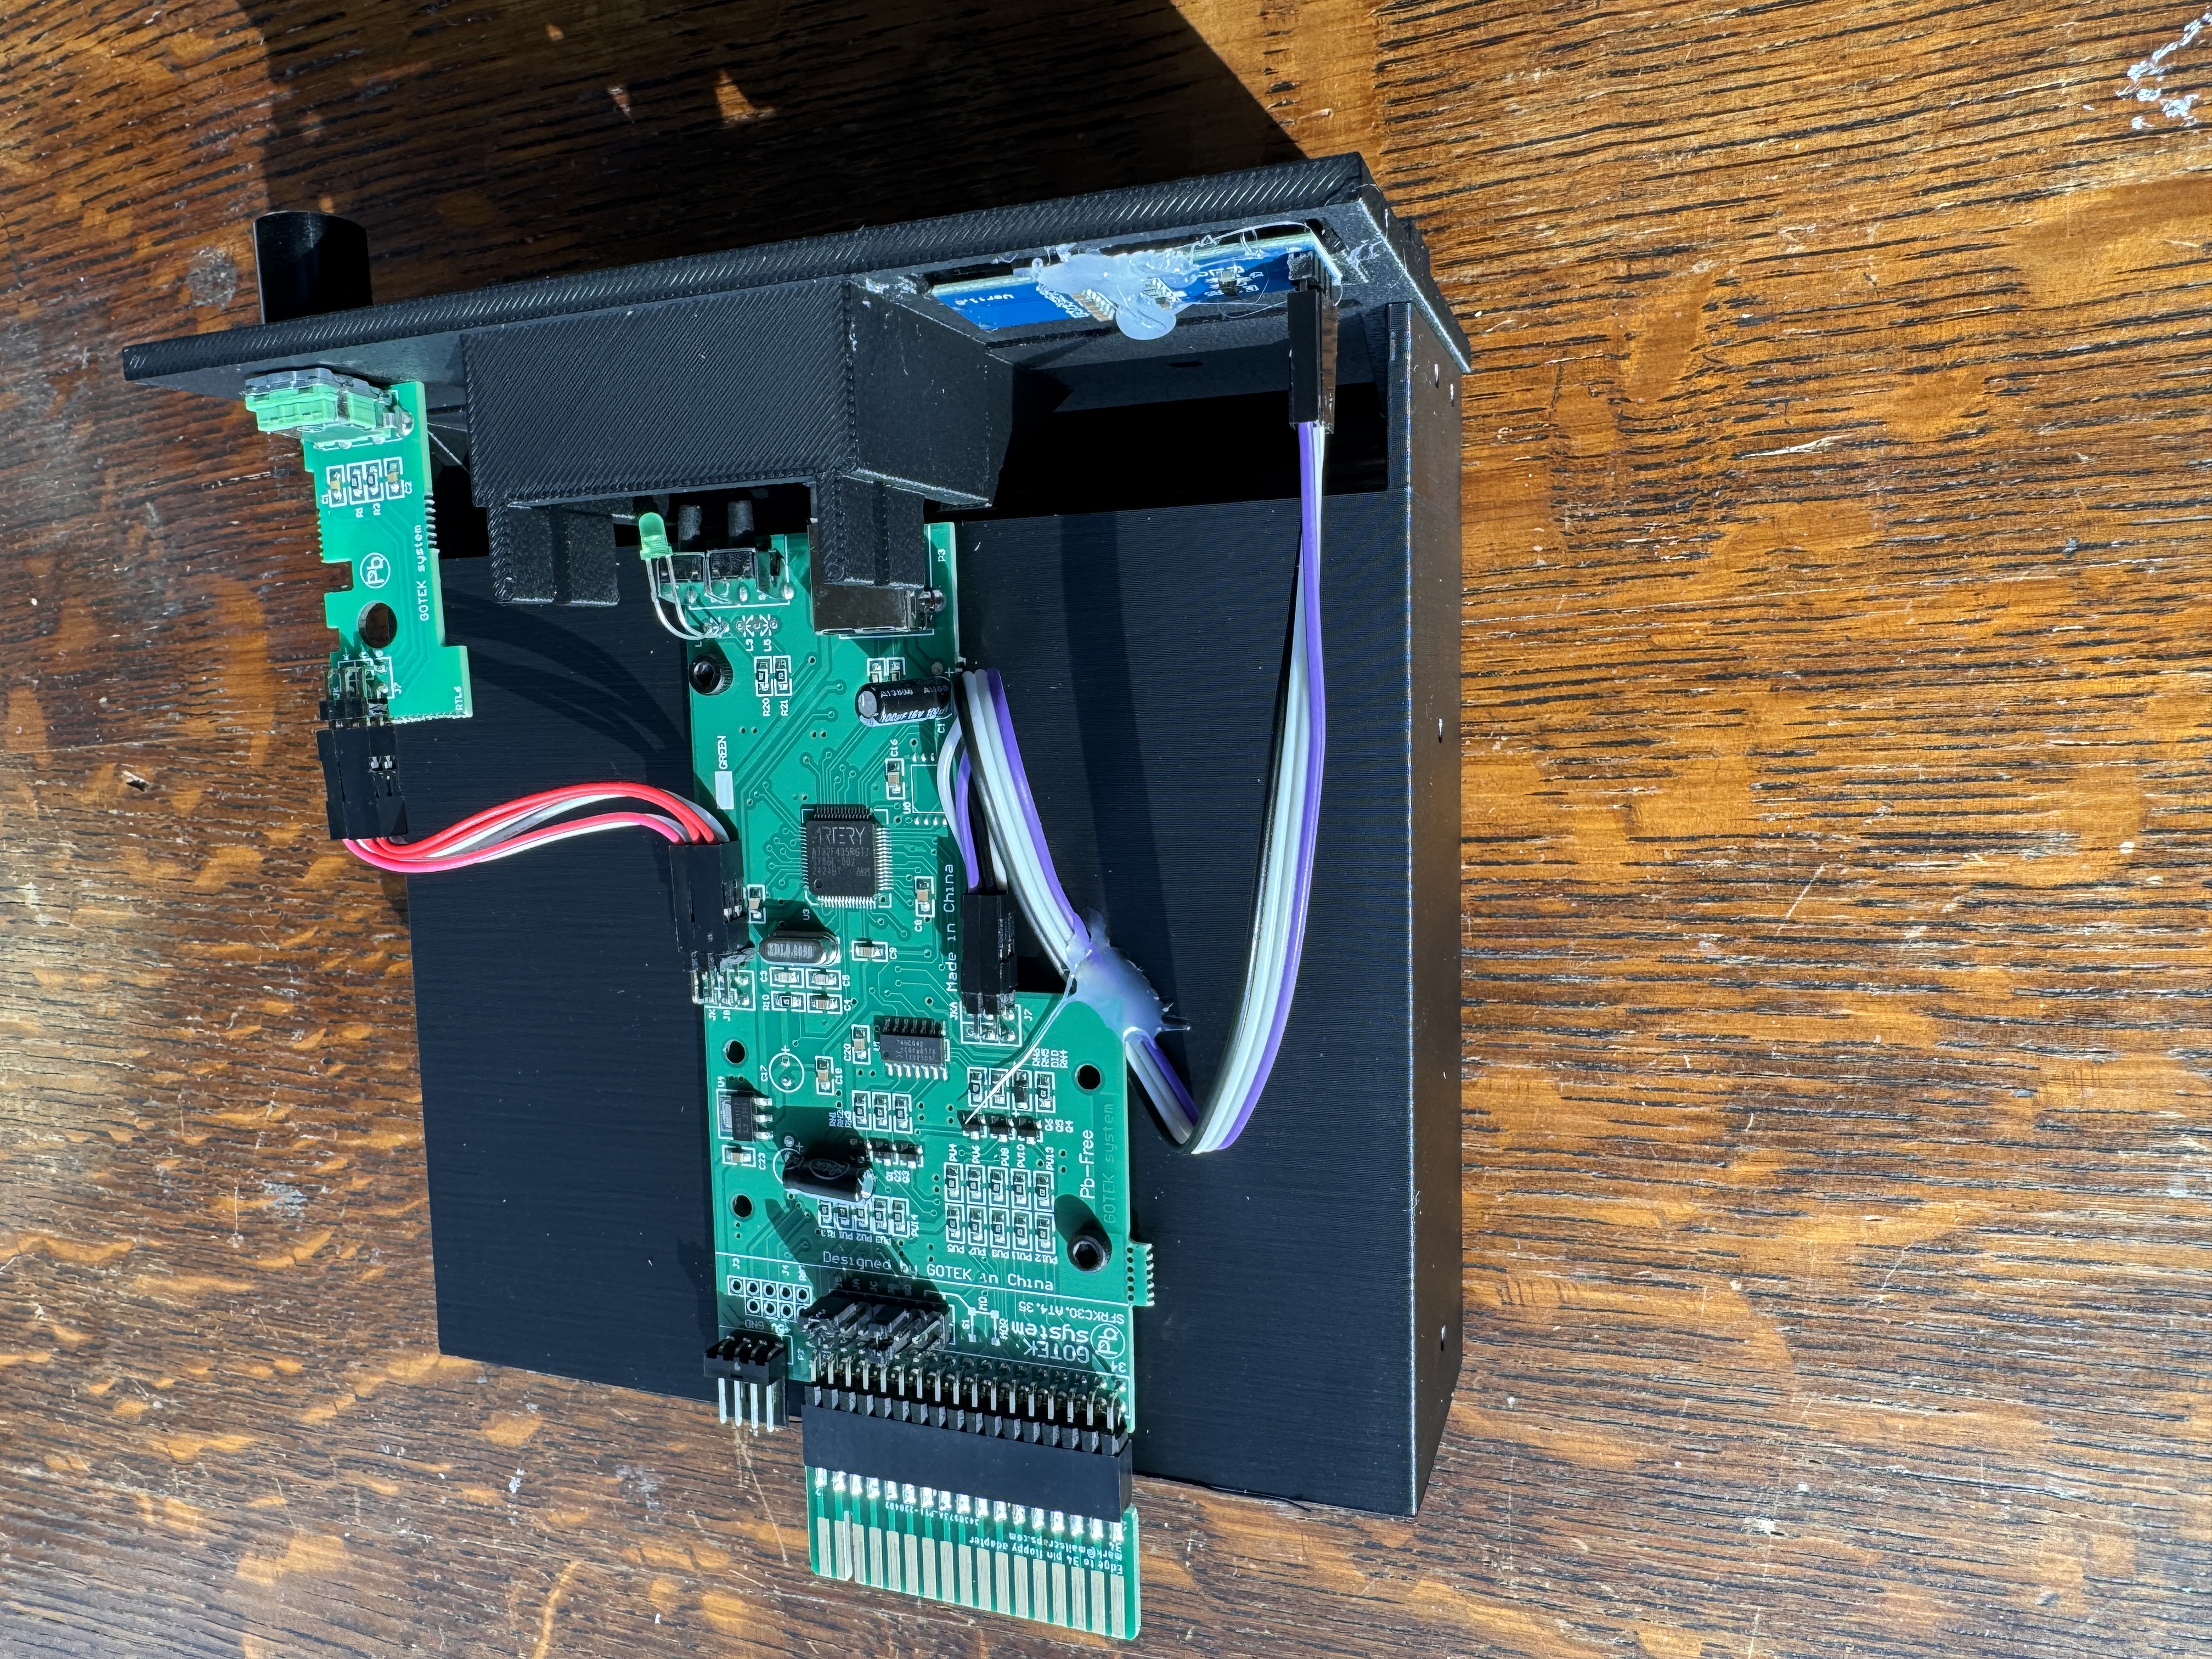
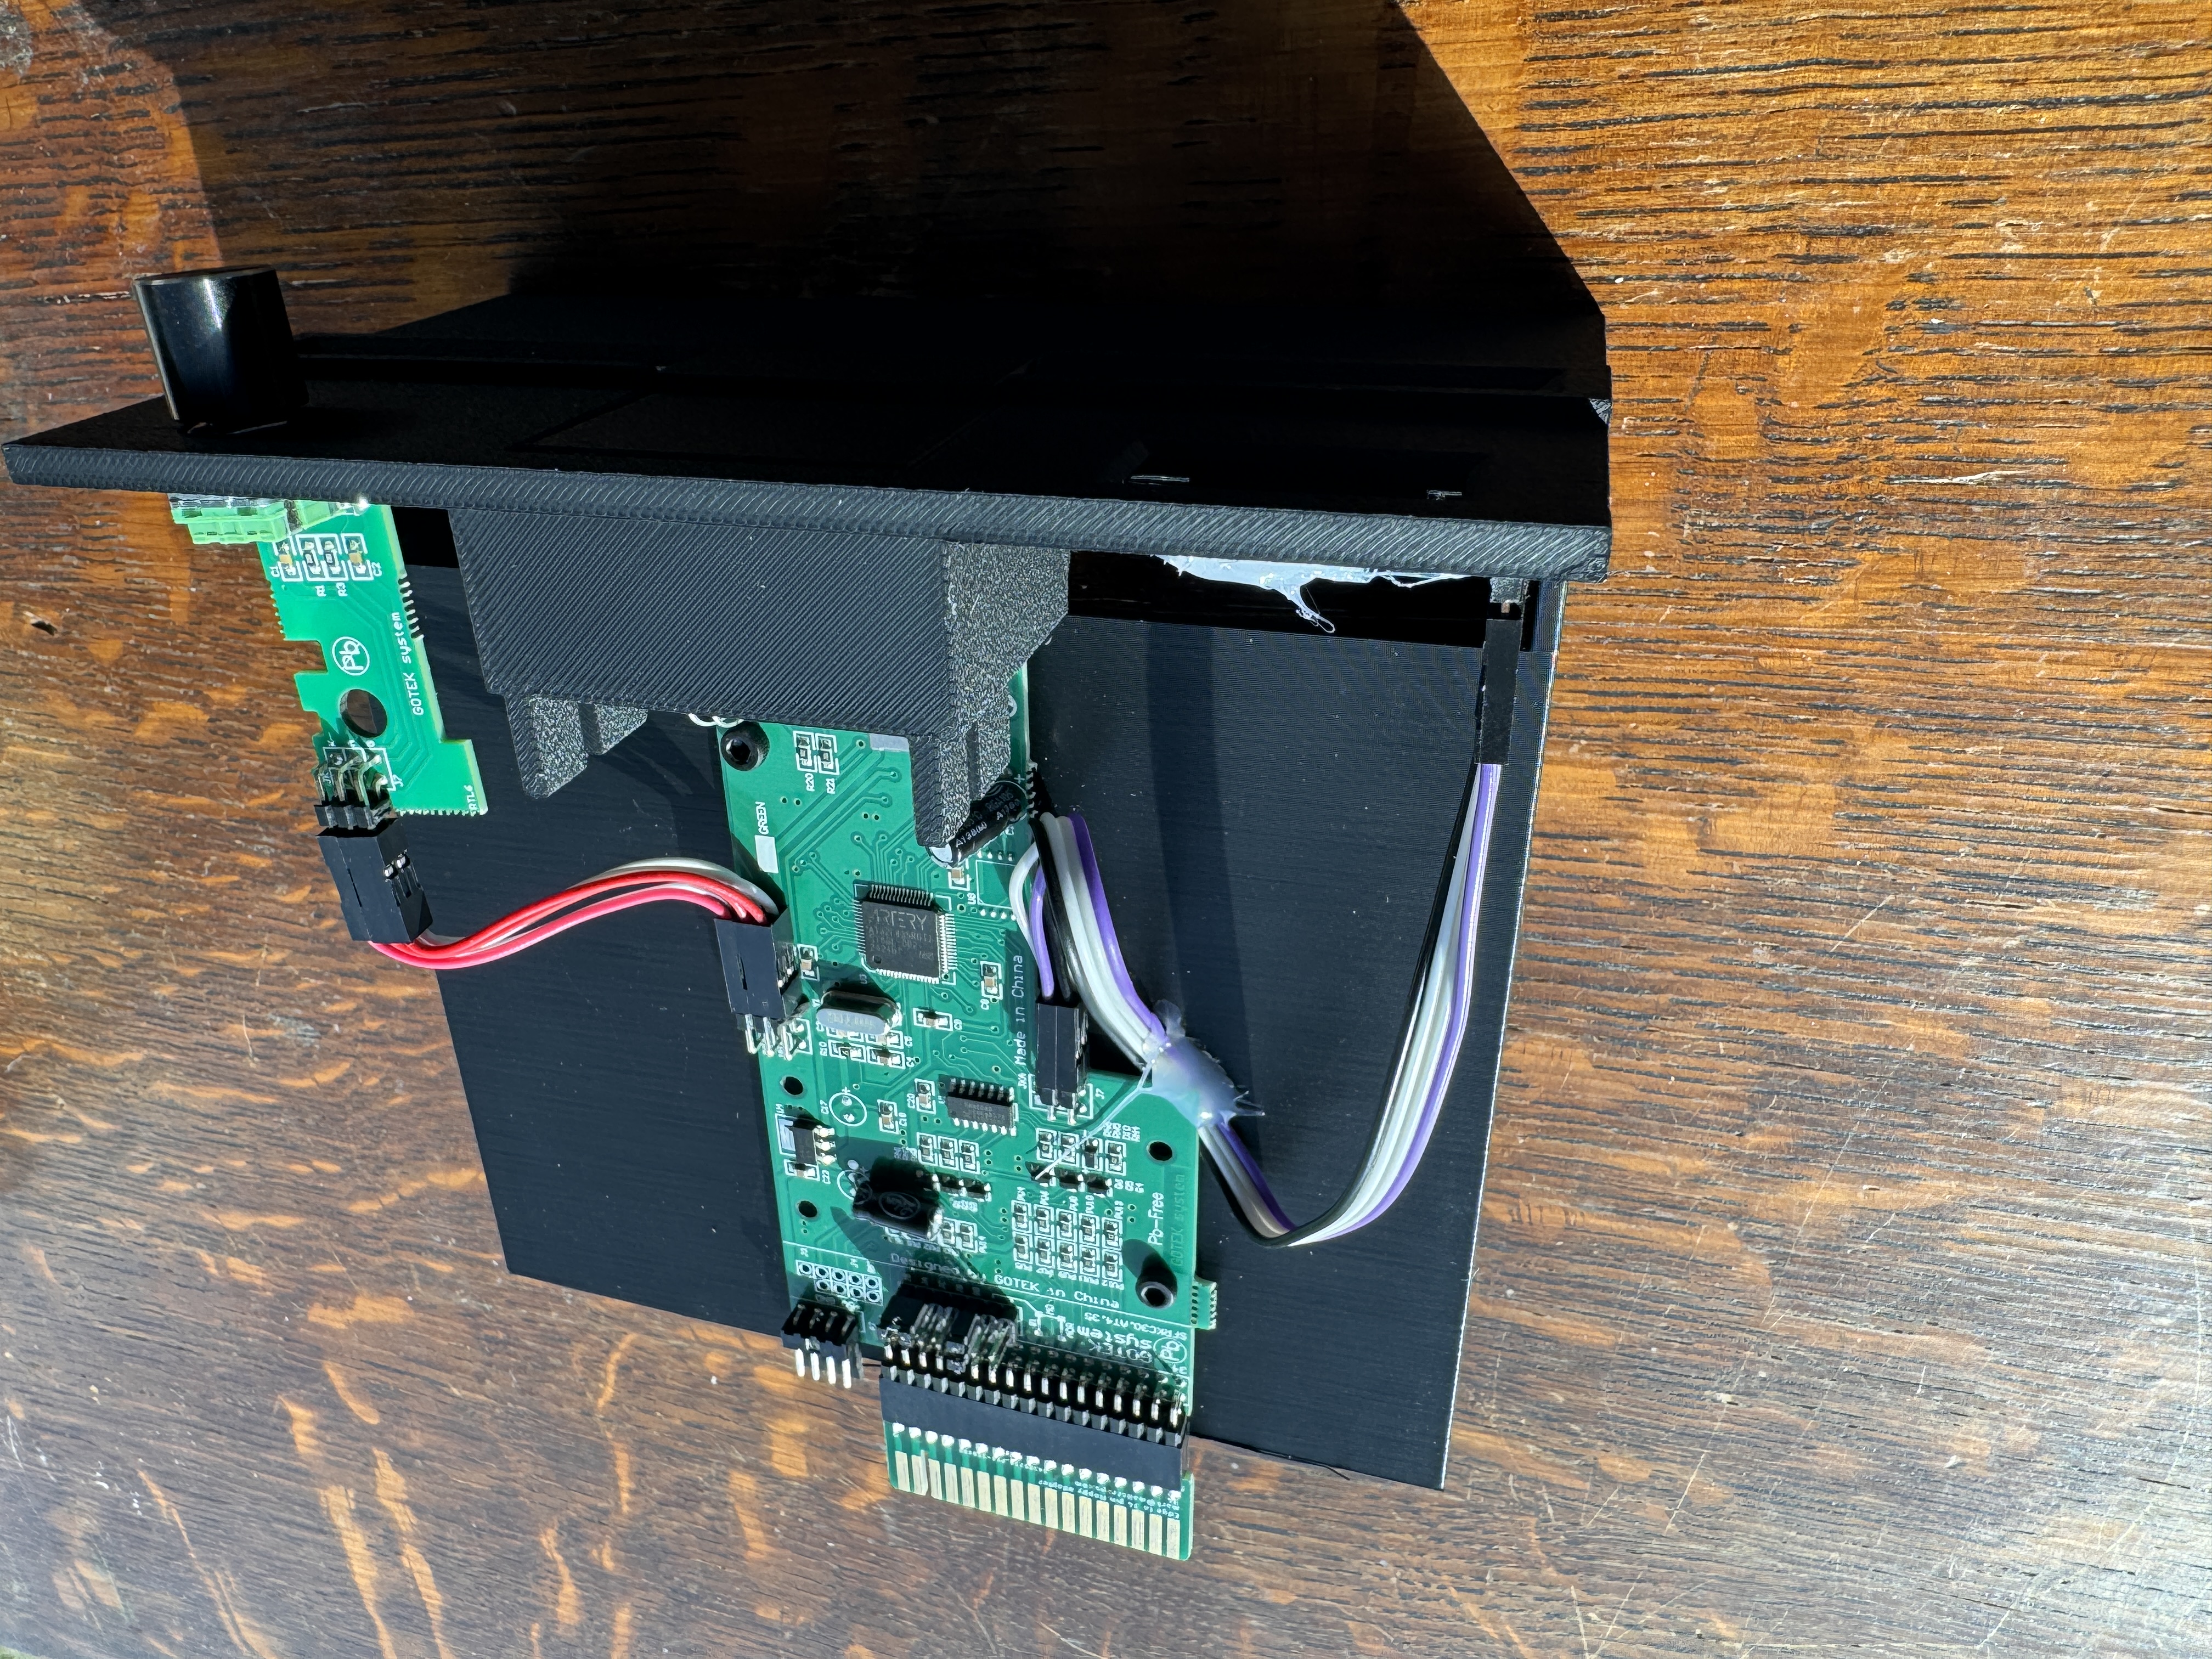
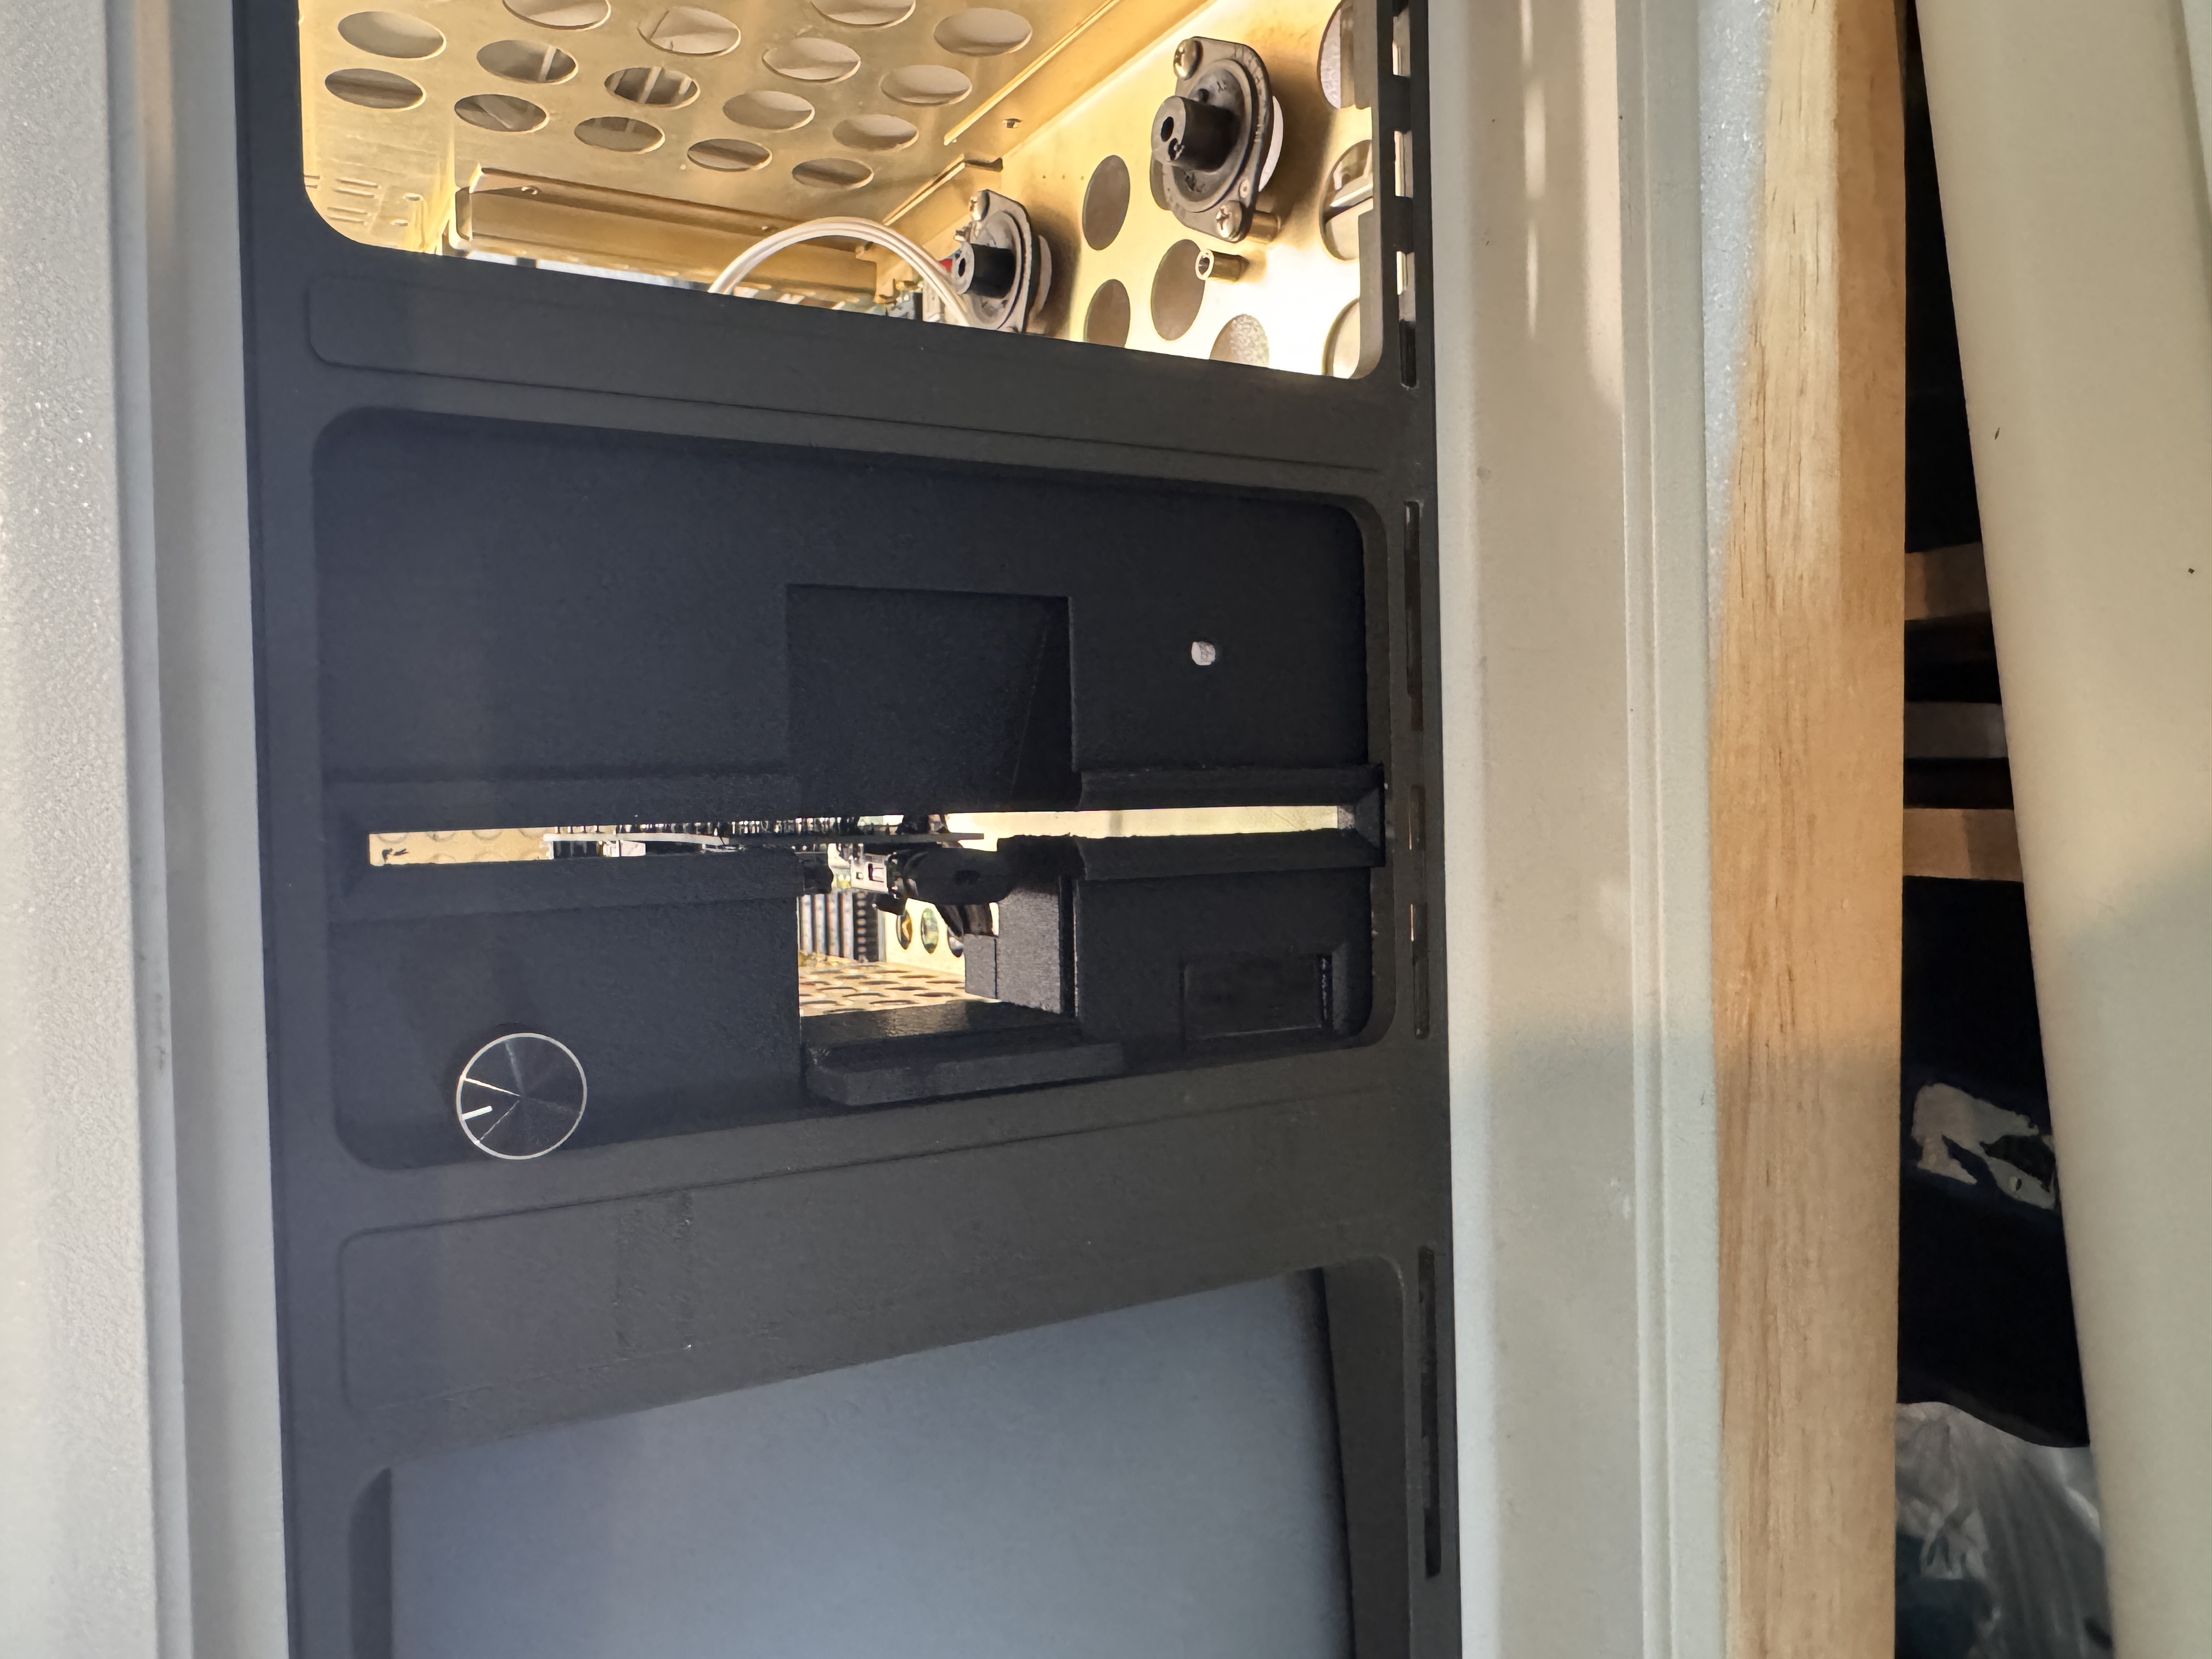
Modern replacements tend to solve the technical problem while creating an aesthetic one. A Gotek works well, and SD-based storage works even better, but once you put them in a Compaq Portable, the illusion breaks. The machine starts to look like a vintage chassis with modern parts awkwardly bolted in.
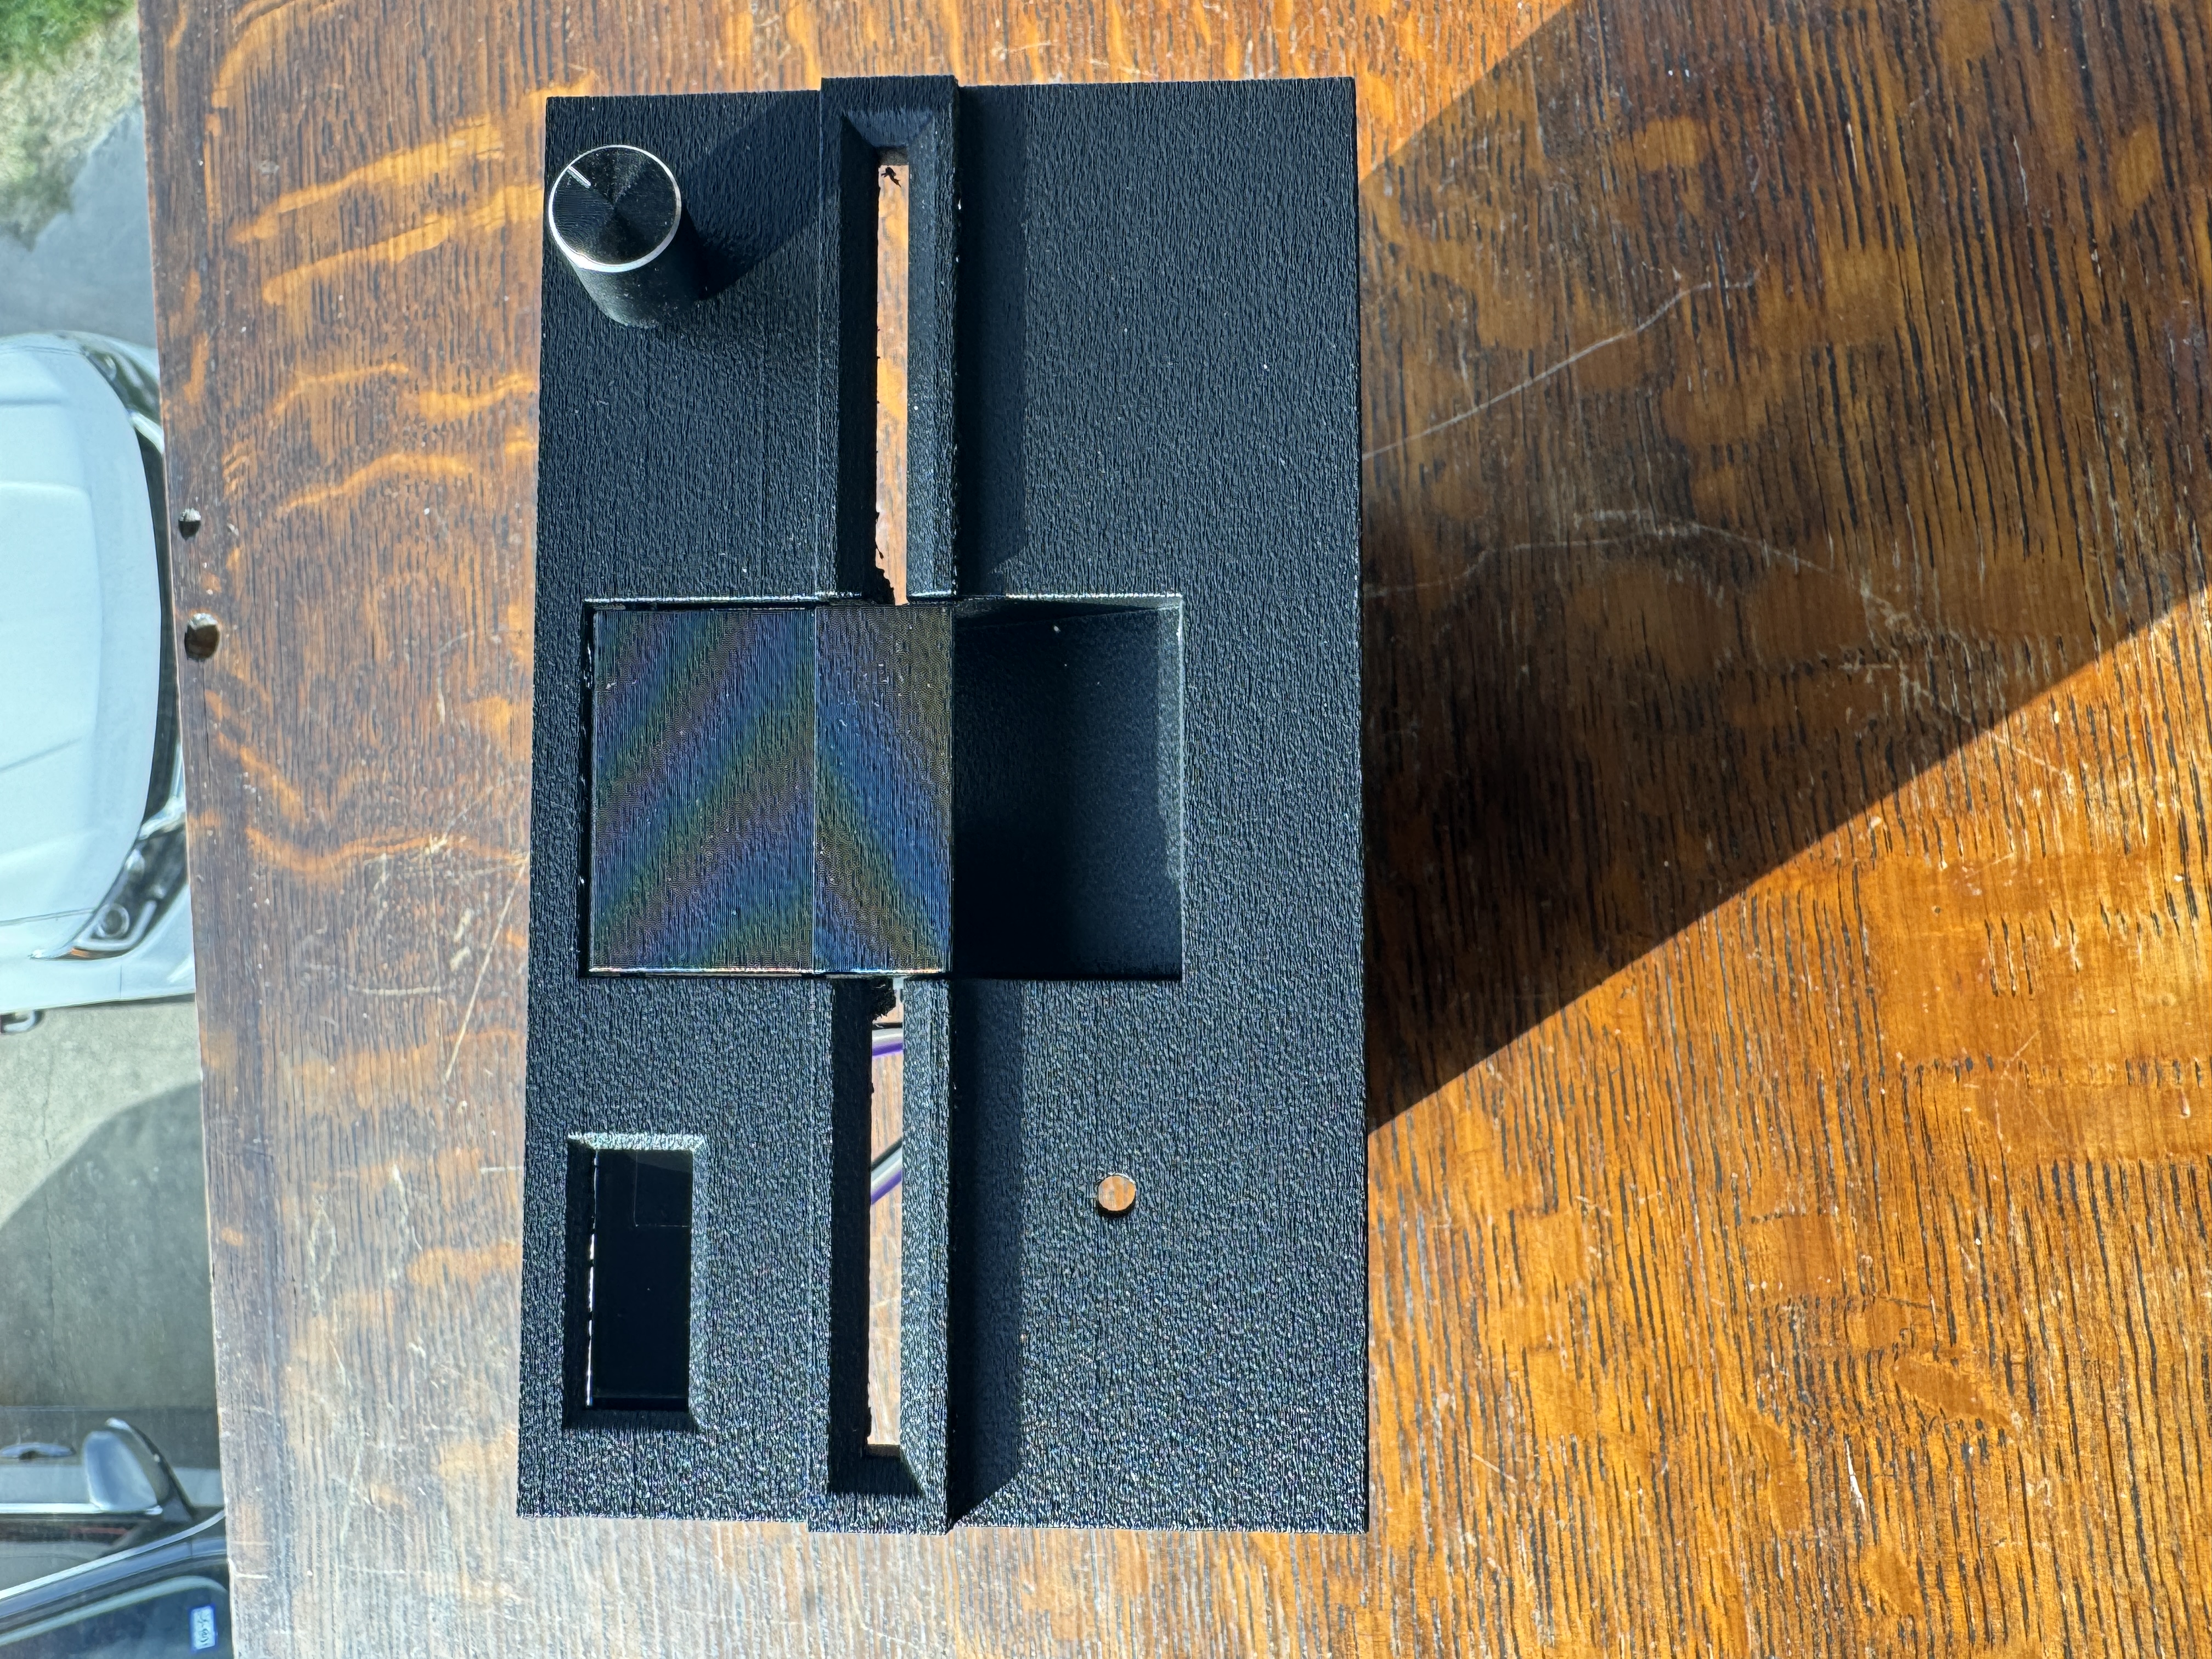
I wanted something different than that. I wanted the front of the machine to look intentional, as though these parts could have shipped with it.
Print Settings That Made the Difference
Getting the shapes right was only half the battle. The more subtle problem was surface finish.
Fresh 3D prints often look too clean, too smooth, too obviously modern. The original Compaq drive faces had a slightly textured, matte finish, and without that texture the bezels would never feel convincing.
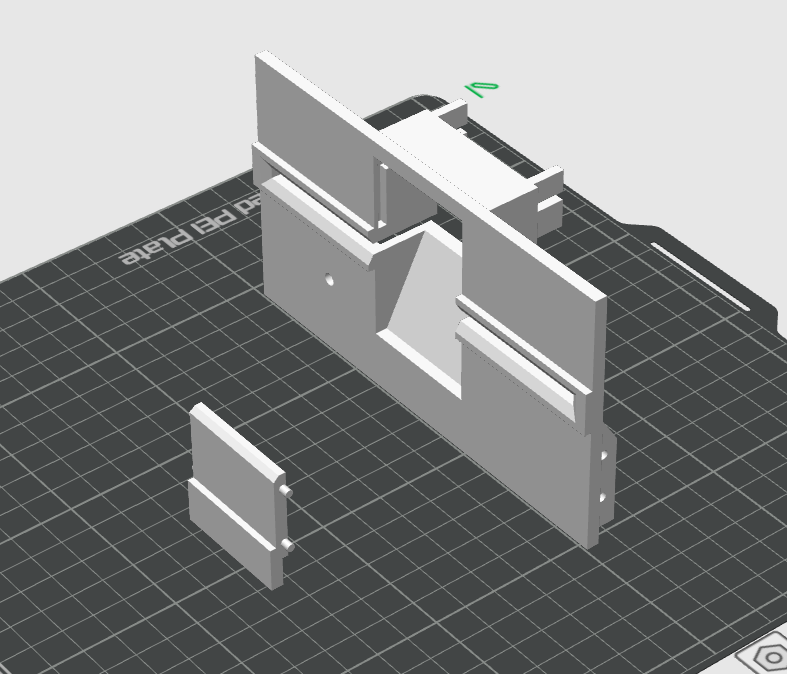
The solution was to use fuzzy skin. I tried several different parameters trying to match the texture of the original drives and finally landed on the setting that applied both contours and holes, with distance and thickness for each set to 0.2mm. I also printed the parts at 100% infill so they would feel solid rather than hollow or toy-like.
That combination turned out to be the detail that made the difference.' Without it, the bezels would have fit. With it, they look like they belong there.
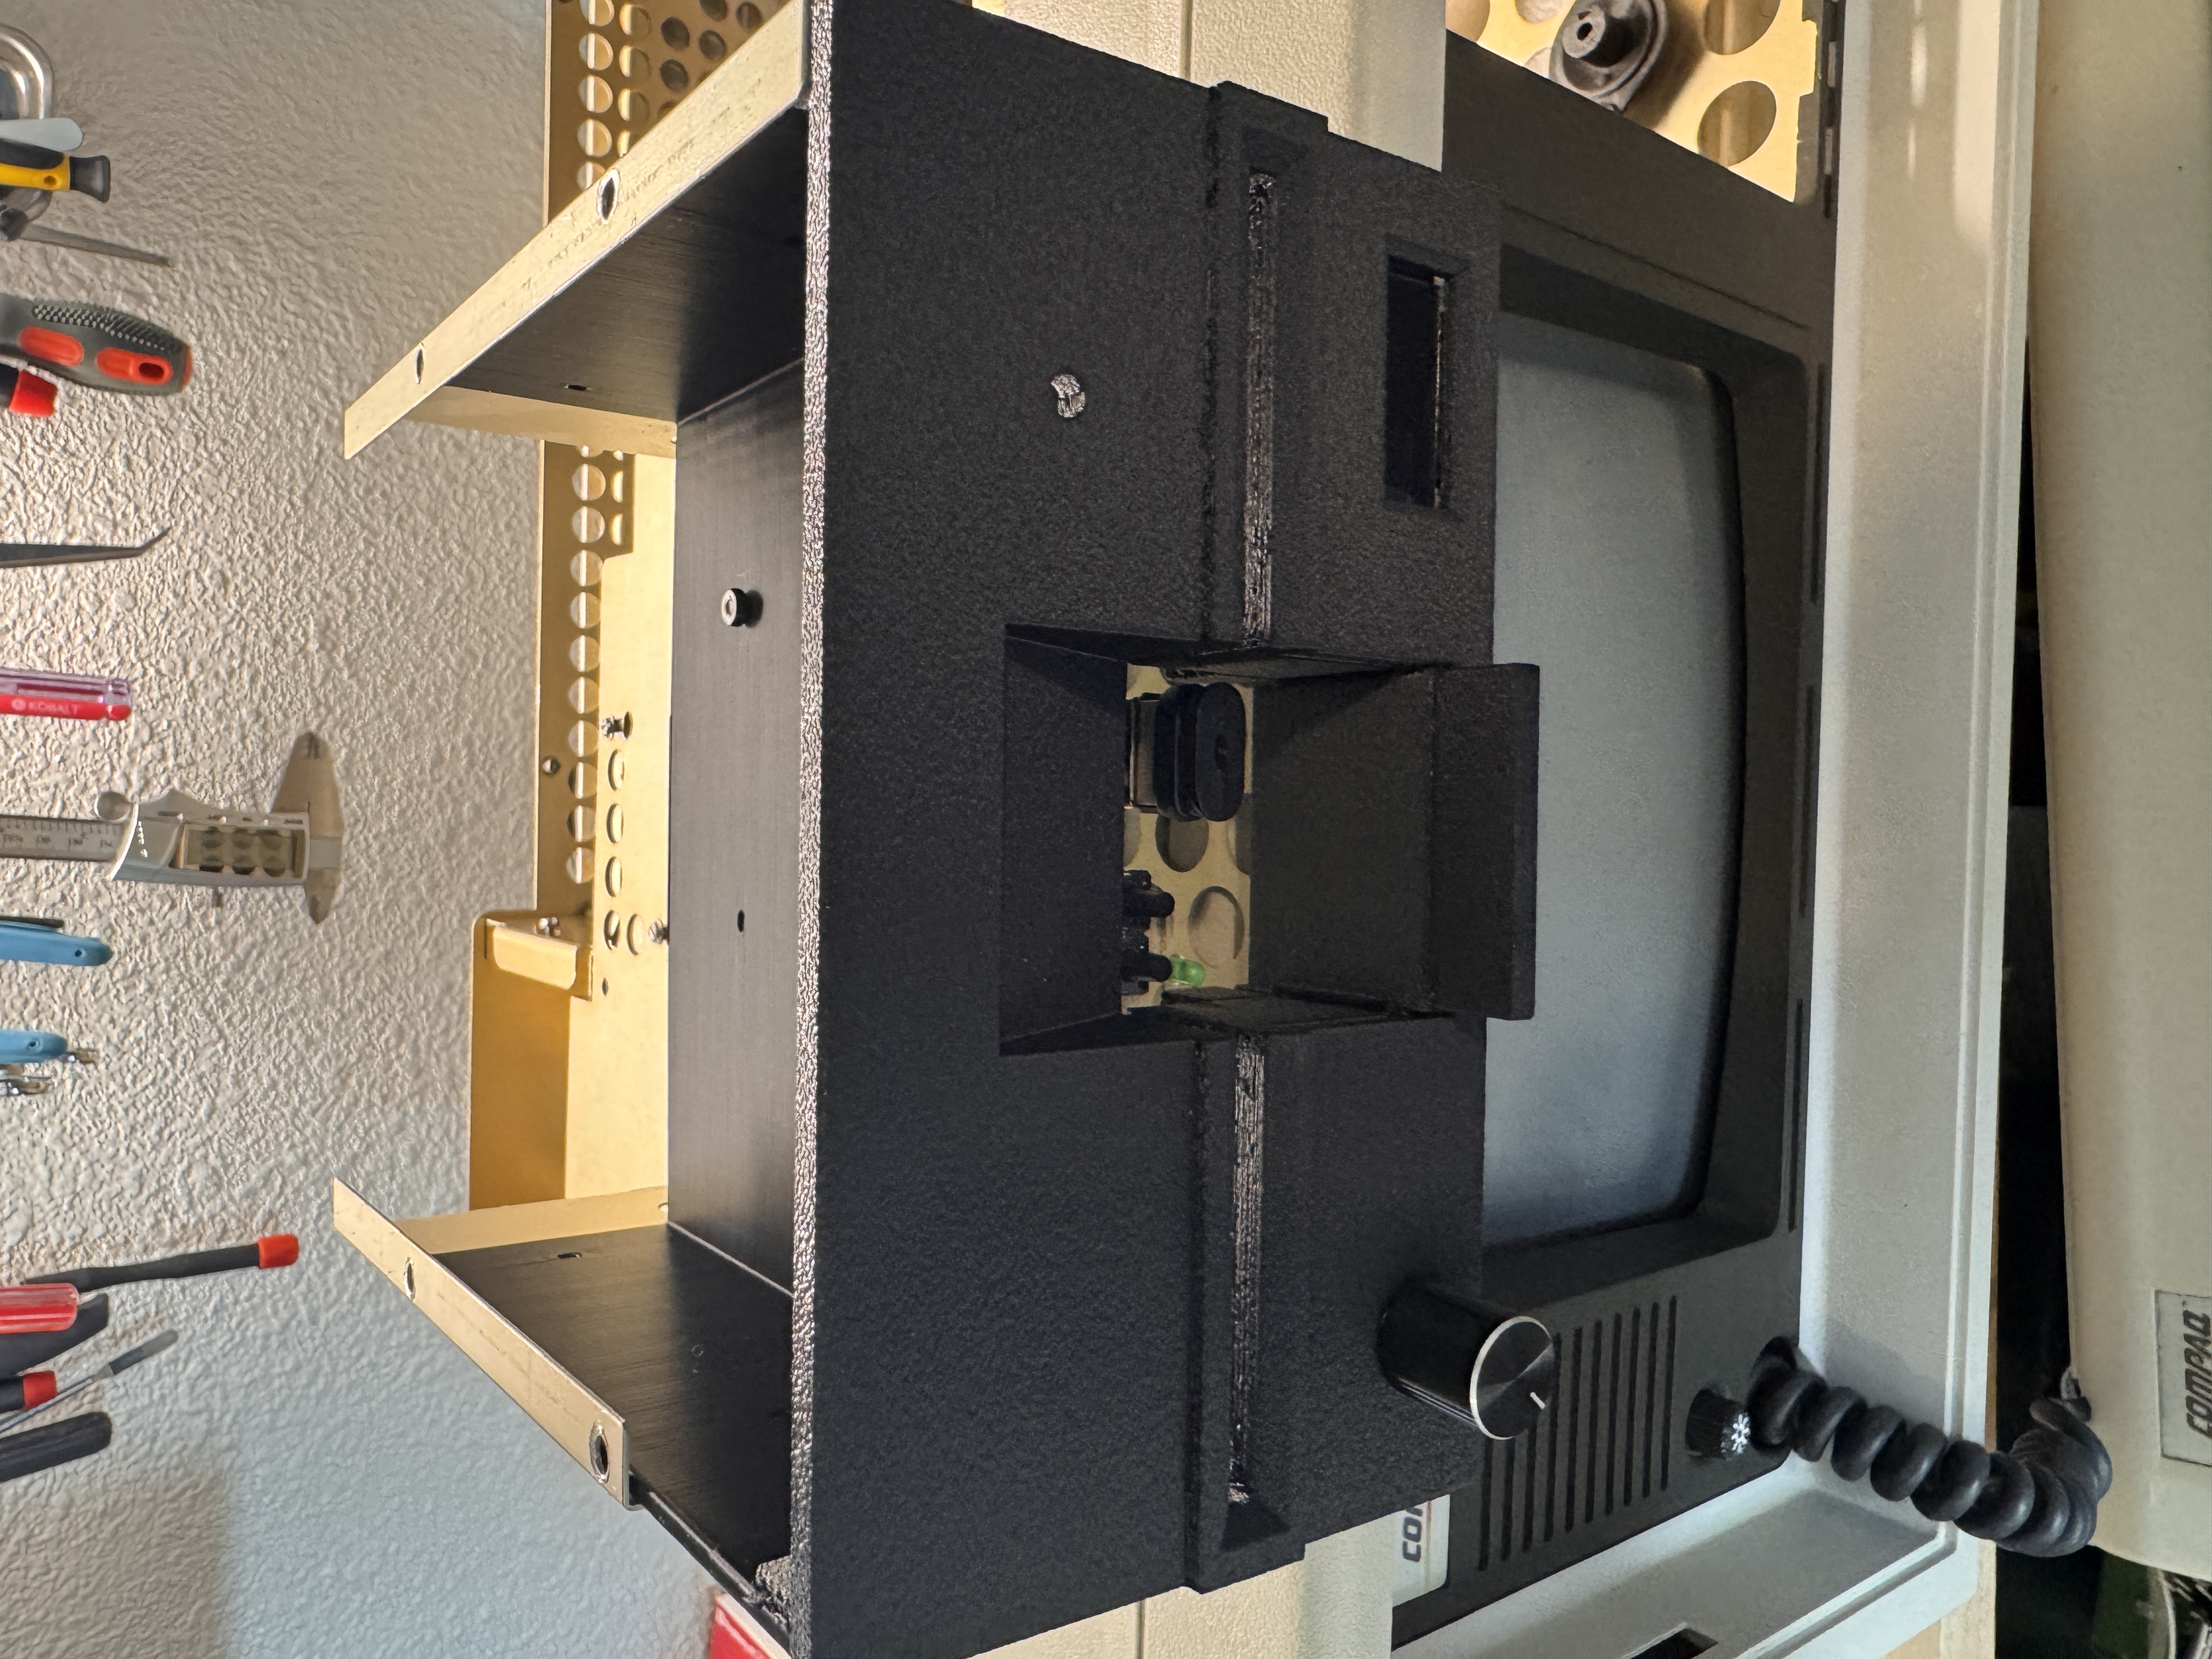
The Finished Result
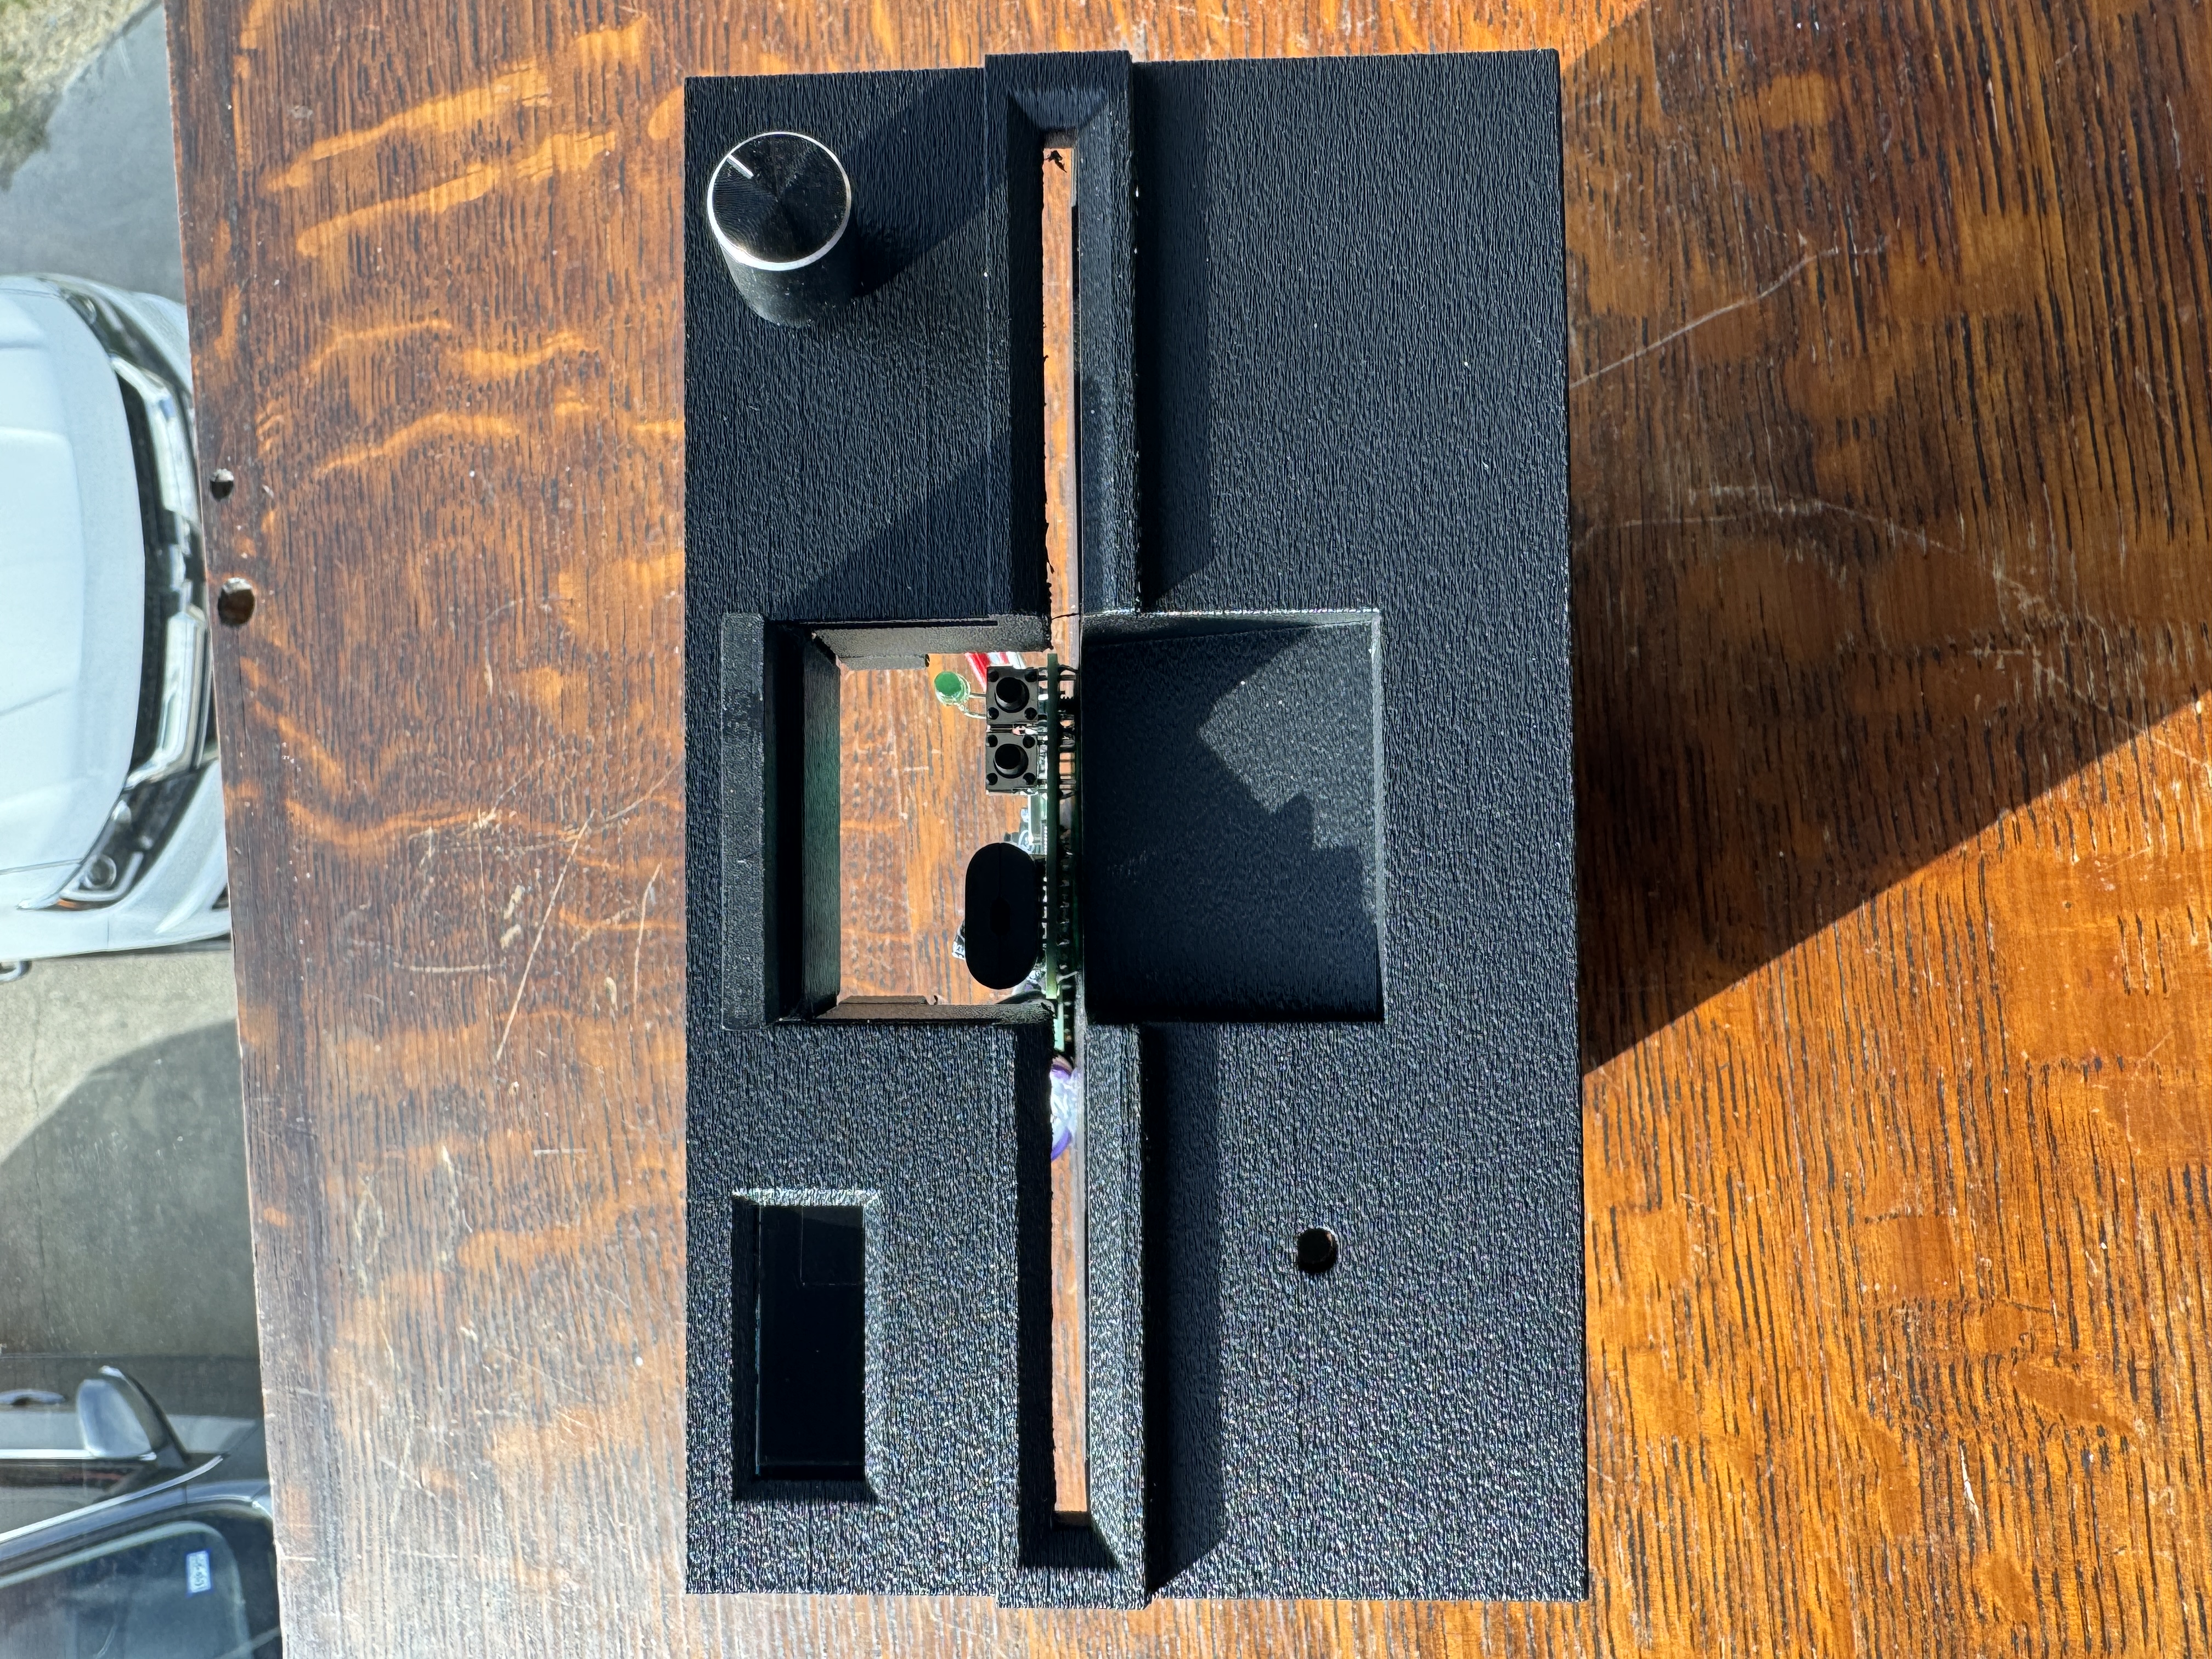
Once everything was installed, the machine finally became what I had been aiming for from the start.
It still looks like a Compaq Portable. It still carries the same visual weight and character. But now it has storage I can trust, and front panels that do not look like an afterthought.
The best part is that the upgrade does not announce itself loudly. It simply feels right.
Download the STL Files
If you want to build your own version of these parts, I am making the STL files available here. The bezels were designed to solve a specific problem on this machine, but they may be useful to anyone trying to modernize a Compaq Portable without ruining the look. These are the exact files used in this build.
Download Gotek Bezel STL
Download Gotek Bezel Latch STL
Download Hard Drive Bezel STL
Reflections
Restoration work always asks the same question in different ways: are you trying to preserve a machine as it was, or make it useful again?
In this case, I wasn't interested in choosing one over the other. I wanted the machine to keep its character while quietly losing some of its fragility.
The 3D printed bezels became the perfect place to strike that balance. They let the Compaq remain recognizably itself, while solving a practical problem in a way that respects rather than intrudes.
That, to me, is when restoration gets interesting, not when something is merely repaired, but when it is understood well enough to be improved without losing its identity.
Acknowledgments
The entire retro community participated in this build. From the artists on thingiverse who helped me create the final designs of the 3D Print work, to the technicians and makers who came up with upgrades like the Gotek and the SD Adapter, and everyone else in the retro computing community for continuing to document, preserve, and share knowledge about machines like this one. Every successful restoration benefits from the work of people who care enough to keep that history alive.